
Thank you for downloading the 2D Hand Painted Dungeon Pack, we hope it will boost your game! We designed this pack to contain everything required to create a visually stunning, immersive, and complete environment.
Supports Unity versions 2020.3 and later.
The following document should provide all you need to know to utilize everything the pack offers. Although we have invested significant efforts to provide you with the highest–quality product possible, in case you find something missing, unclear, or have a suggestion, please contact us – we are here to assist, help, and support!
Quick Navigation
Getting Started
Installing and configuring this asset is a straightforward and intuitive process. After importing the asset into Unity, the on-screen Installer window will guide you through a simple configuration process. The whole process is automated and performed by the Installer window, and it may take a few minutes.
Installation Steps
After configuring the Universal Render Pipeline and importing the asset
into Unity, it will show the Installer window to guide you and configure
the project on your behalf.
If the Installer window doesn’t show up, you can open it through the
2D Hand Painted/Install menu.
The Installer process has four screens:
- Intro – Validate that your render
pipeline isn’t configured correctly.
If not configured properly, a message will appear with a link to a configuration manual; configure the render pipeline as described and upon Unity. - Config – A few options to customize the installation process. It’s best to leave the options as displayed initially.
- Install – The performed tasks will be listed and marked when they are complete.
- Enjoy – That’s it! You can close the window now; everything is ready for you to start using this asset.
Render Pipeline
This asset requires the Universal Render Pipeline with a 2D Renderer.
Requirements
Besides the Universal (2D) Render Pipeline, there are no other requirements.
Using Sprite Shapes Profiles requires installing the
2D Sprite Shapes package.
The Installer window process will install the dependency on your
behalf.
You may opt out of installing it.
Demo Scene
The Demo scene showcases the usage of the pack’s Prefabs, Shaders, and
Sprite Shapes.
Navigate the scene at Play Mode using the Arrows or
W A S D keys; use Left Shift or the Mouse Wheel to boost
speed.
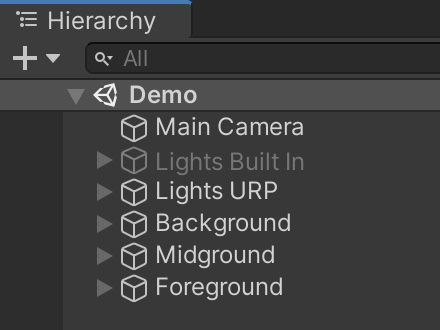
Hierarchy
The scene is divided into three main layers GameObjects: Background, Midground, and Foreground; all Prefabs and Sprite Shapes are placed under one of the three layers.
Parallax
To achieve a brilliant Parallax effect, we configured the camera’s
projection to Perspective instead of
Orthographic.
To prevent Z-fighting (sprites jittering while the camera moves), please
configure the 2D Renderer Data asset’s
Transparency Sort Mode to Orthographic.
Lights
The demo scene is designed with rich lighting utilizing Unity’s rich 2D light features.
Prefabs
The Prefabs folder contains the main assets to use when
working with this package. They are ready to drag and drop into the
scene, pre-configured with sprites, materials, scripts, effects, etc.
The prefabs are organized into groups and are laid out for quick
reference inside the Spritesheet scene.
Composite prefabs, those containing multiple child objects, have a Sorting Group component to allow changing the sorting for all the child renderers at once.
Some prefabs have variants marked with bracket tags, for example
[No Wind] variant for plants.
Sprite Shapes
Unity’s 2D Sprite Shapes are a flexible and powerful world-building tool that features Sprite tiling along a shape’s outline that automatically deforms and swaps Sprites based on the outline’s angle. It’s great for creating organic and unique art for your games.
To add a shape to the scene, drag a Shape Profile from the
Shapes folder. After dragging,
add a material (and a component when needed) as
described below.
Note that some shapes feature multiple variants – be sure to check
those out!

Closed Shapes TIP
The closed Shapes Profiles provided by this pack do not
define sprites for the corners; therefore, we advise adjusting the shapes’
Spline, using the different Tangent Modes.
The following method will create authentic and organic shapes (for
platforms, walls, etc.):
-
When editing a shape, press on
 Edit Spline.
-
Select a Control Point; three
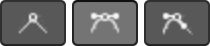 Tangent Modes will appear.
-
Select the middle
 Continuous Mirrored mode.
- It’s worth checking out all Tangent Modes to find which provides an organic shape.
Dungeon Shapes Profiles
The following is a list of Sprite Shape Profiles provided by this
pack.
Please note the recommended configuration for each profile:
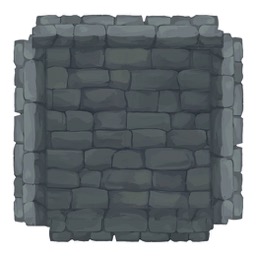
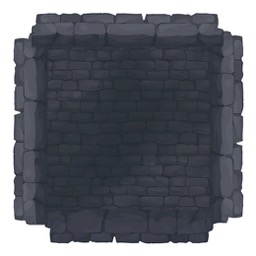
- Bricks Wall Closed
- Dungeon
- 4 sprite variants
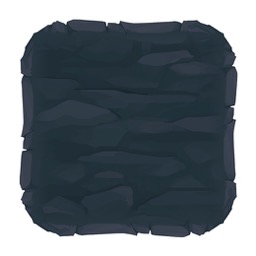
- Bricks Wall Dark Closed
- Dungeon
- 2 sprite variants
- Rock Ground Closed
- Dungeon
- 3 sprite variants
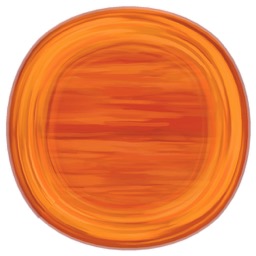
- Lava Closed
- Dungeon Lava – Waves
- 1 sprite variant
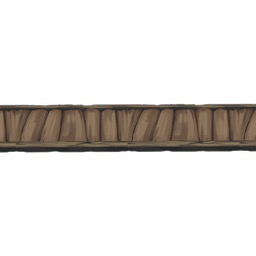
- Bridge Open
- Dungeon
- 1 sprite variant
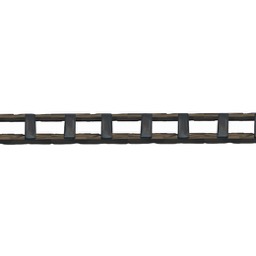
- Rail Open
- Dungeon
- 1 sprite variant
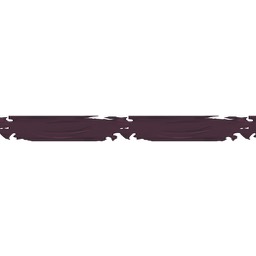
- Carpet Open
- Dungeon
- 2 sprite variants

- Flag Open
- Dungeon
- 4 sprite variants
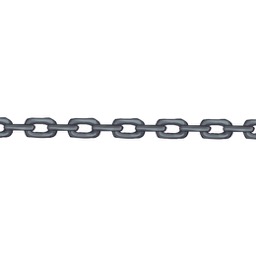
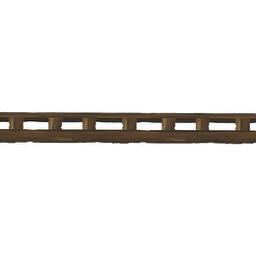
- Chain Large Open
- Dungeon
- 1 sprite variant
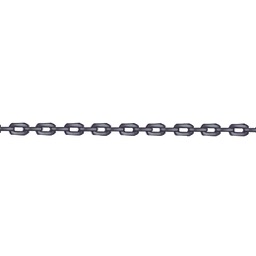
- Chain Small Open
- Dungeon
- 1 sprite variant
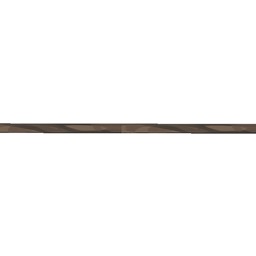
- Rope Open
- Dungeon
- 1 sprite variant
- Ladder Open
- Dungeon
- 1 sprite variant
Effects
The Effects folder inside the Prefabs folder
contains effects prefabs that can be placed to enrich the environment.
Some effects provide an intuitive editor allowing configuration and
customization.
Crystal Fantasy
Sparks and flickering lights – great addition for the crystals.
Color– Color of particles and light.Range– Range for particles spread and light.Intensity– Light intensity.Flicker Speed– Light random flickering speed.Flicker Amount– Light flickering influence.
Fire Smoke
Simple smoke effect, a great addition for torches.
Fire Sparks
Simple sparks effect, great for torches. Orange and blue variants.
Debris & Dust
Every few seconds, a cycle of debris and dust falling from the ceiling.
Lava Bubbles
Some popping bubbles for an active lava pool.
Width– Size in world space, also affects emission rate.
Lava Steam
Hot steam clouds rising from the lava.
Width– Size in world space, also affects emission rate.
Lava Sparks
Some sparks to make your lava more dimensional.
Width– Size in world space, also affects emission rate.
Materials
We geared this pack with the materials pre-configured for all its various assets’ needs. It’s best to use the provided materials instead of creating new ones from the pack’s shaders.
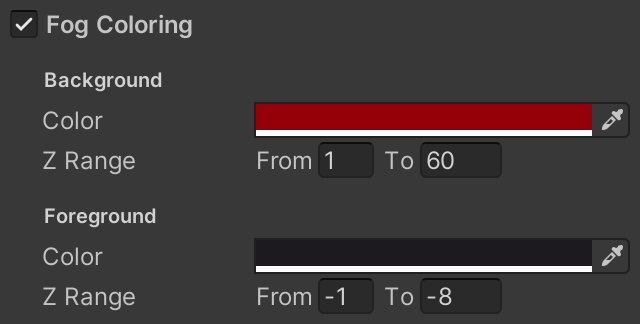
Fog Coloring
Tint a Sprite (or Sprite Shape) according to its
Z position.
Tints the sprite by defining a range where From is the position
without tint and To is full tint. There is a different color
(and range) for background and foreground to allow more stylistic
control.
The provided materials are pre-configured with fog coloring to match the
pack’s ambiance.
The pack’s shaders don’t rely on Unity’s built-in fog.
Wind
The pack’s Wind system is composed of a material and a
component.
Materials pre-configured with a Wind-supported shader are located inside
the materials folder.
While prefabs are pre-configured with appropriate material and component for static sprites that require wind, Sprite Shapes require manually setting a material and a component for wind support.
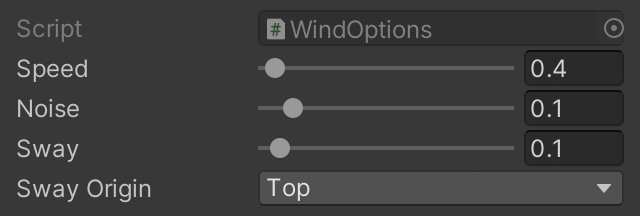
Only after adding a Wind Options (Sprite) component, the
wind animation will start.
For each instance, you can use it to customize the Speed,
Noise which adds a wobble movement, and
Sway which determines the amount of movement at the side
farthest than the origin. The Sway Origin is the side that
isn’t moving.
Sprite Shape Wind
Adding wind to a Sprite Shape is a similar process to a normal Sprite.
Note that you should use a material with a name containing
wind (shape) and the
Wind Options (Sprite Shape) component.
Wind Options component only configure the renderer instance
with the desired behavior via a Material Property Block.
Dungeon Materials
The following materials are provided with the pack, alongside additional materials not listed here, and used some of the effects.
Dungeon
The main material for this pack provides dark fog coloring.
Dungeon – Wind
Same as the basic Dungeon material with the addition of wind movement.
Dungeon – Flame
An animated flame effect. Configure it to be orange or blue, with or without a rounded bottom.
Dungeon Lava
The main material for the lava zones has a stronger red fog coloring.
Dungeon Lava – Waves
Same as the basic Dungeon Lava material with the addition of waves movement.
Only for Sprite Shapes.
Components
Besides the scripts we created for controlling various parts of this
pack, we also provide a handful of MonoBehaviour components
to enrich your environments.
Components are located under the
2D Hand Painted section of the Add Component menu.
-
2D Hand Painted
-
Animate
- Light Flicker
- Random Frame
- Rotation
- Shake
- Swing
- Translate Loop
- Camera Controller
- Wind Options
-
Animate
Wind Options
The Wind Options component functionality is described alongside the Wind material.
Camera Controller
A simple camera controller, allowing navigation in the Demo scenes.
Navigate using the Arrows or W A S D keys; use Left Shift or the
Mouse Wheel to boost speed.
Animate
Utility components to quickly and easily create simple animations.
Light Flicker
Requires Light/Light2D component.
Randomly dims a light. Useful for an ambiance effect of a torch or a
candle.
Adjustable: Speed, Intensity Amount.
Random Frame
Requires Animator component.
Start the Animator on a random frame. Helpful in creating variations
when you have multiple instances of a single animation.
Rotation
Spin a Game Object in a full circle repeatedly.
Adjustable: Speed.
Shake
Randomly moves a Game Object around its origin.
Adjustable: Speed, Amount.
Swing
Rotate a Game Object back-and-forth.
Adjustable: Speed, Movement Amount.
Translate Loop
Moves an object horizontally; when it reaches an edge, it relocates to
the other edge and resumes movement.
Adjustable: Speed, Left World X,
Right World X, Ping Pong (Move back-and-forth
instead of teleporting), Wave (Animate vertical position),
Flip With Direction (Mirror sprite based on direction).
Structure
After importing the pack, you should have the
2D Hand Painted folder added to your project’s
Assets folder. This folder contains assets from all the
2D Hand Painted bundle packs.
For the most, what you are looking for is inside the
Prefabs and Sprite Shapes folders.
-
2D Hand Painted
-
$Common
- Editor
- Scripts
- Shaders
- …
-
Dungeon
- Animations
- Materials
- Prefabs
- Scenes
- Shapes
- Textures
- PSD Source.zip
- _PackMeta.asset
- TagsLayers.preset
- READ ME.pdf
-
$Common
-
Editor
- _HP2DMeta.asset
$Common
Assets and resources that are shared between all the
2D Hand Painted Bundle’s packs.
In general, you shouldn’t have to look inside this folder; we will
expressly state if an asset mentioned in this manual is located inside
the common folder.
Dungeon
It contains all the assets dedicated to the Dungeon Pack.
Scenes
A pack contains two scenes:
- Spritesheet
Lays out the pack’s various prefabs, grouped by categories.
- Demo
Showcase of the usage of the pack's Prefabs, Shaders, and Sprite Shapes. It’s a great place to start when looking to explore what this pack has to offer.
Animations
Animations and Animation Controllers used to breathe life to some of the
objects. Some packs may not include the Animations folder.
All animated objects are configured with an Animation Controller
inside a prefab, so you don’t need to connect anything manually.
Editor
Resources we use for providing you with intuitive workflow while using this asset.
Materials
There are a variety of materials for each pack.
The prefabs are pre-configured with material for sprites, but for Sprite
Shapes, you will need to manually assign a material (as discussed in the
Materials chapter).
Prefabs
This is the main folder to look inside while using this asset. It contains all sprites and effects ready to drop into a scene, pre-configured with materials, scripts, effects, etc.
Scripts
Scripts for controlling effects, animations, etc. If the script is a MonoBehaviour intended to be used by you, it will appear inside the Add Component menu. Otherwise, it is already configured for you inside the appropriate prefabs.
Shaders
The pack shaders are located under the
Hand Painted 2D section. As mentioned previously, the
pack has pre-configured materials; we advise using them
instead of creating new materials.
Shapes
Contains Sprite Shapes Profiles to create beautiful arbitrary-shaped sprites.
Textures
Quality, high-resolution hand-painted sprites next to a few textures used by some of the VFX.
TagsLayers preset
A preset with pre-configured sorting layers. The Installer window
process will apply on your behalf.
You may opt out of applying it.
READ ME pdf
An offline version of this manual.
PSD Source zip
An archive containing all the source Photoshop PSD files.
_PackMeta asset
This file is required for installing the pack, it will be removed by the Installer. Do NOT delete this file!
_HP2DMeta asset
This file is required for installing updates smoothly in the future. Do NOT delete this file!
Common Issues
The following are some issues we encountered more than once. Try looking for a solution before sending us a question – we may have already answered it.
# I have errors immediately after importing the asset.
Make sure to install the Universal Render Pipeline before importing the asset.
# How can I open the Installer window?
If the Installer window doesn’t show up after importing the asset, make
sure to correctly configure the Universal Render Pipeline.
To manually open the Installer, open it through the
2D Hand Painted/Install menu.
If you previously installed a different pack from the 2D Hand Painted
bundle, there is no need to rerun the installation process.
# Sprites are all pink.
Please perform the following checks:
- If you haven't run the Installer – reopen Unity and follow the Installer process.
- Make sure the pack’s materials are configured with a shader.
# Sprites jitter as camera moves.
Configure the 2D Renderer Data asset’s Transparency Sort Mode to Orthographic.
# How to set up a parallax effect?
Follow those steps:
- Configure the camera’s projection to Perspective.
- Configure the 2D Renderer Data asset’s Transparency Sort Mode to Orthographic.
# I added a wind-supported material, but it’s not working.
To add a wind animation, both a wind-supported material is required as
well the Wind Options component. Please read the
Wind manual.
# I’m using the Universal Render Pipeline, but the Installer is asking for a 2D Renderer.
The Universal Render Pipeline has a few renderers; instead of using the
Forward Renderer, you should configure it to use the
2D Renderer.
Check out
Unity’s documentation
on configuring it.
# A Sprite Shaps is not tinted as normal sprites do.
Make sure to add material from the pack whenever creating a new shape, as described in the Shapes section.
# Sprite renderers have missing Sorting Layers.
You may have opted out of applying the provided Tags and Layers preset
during the installation process.
Please apply the preset TagsLayers.preset that is provided in
this pack in the
Tags and Layers manager.
# Stacked sprites slide when they should move in sync.
Make sure they have a similar Z position. Alternatively, add
a
Sorting Group
component to their parent Game Object.