Thank you for taking part in the NotSlot journey!
We invite you to join us in our next chapter:
Unity Visual Scripting Part 6: Variables
In this part, we’ll get to know Variables in Unity’s Visual Scripting. In short, variables are containers that store information and values.
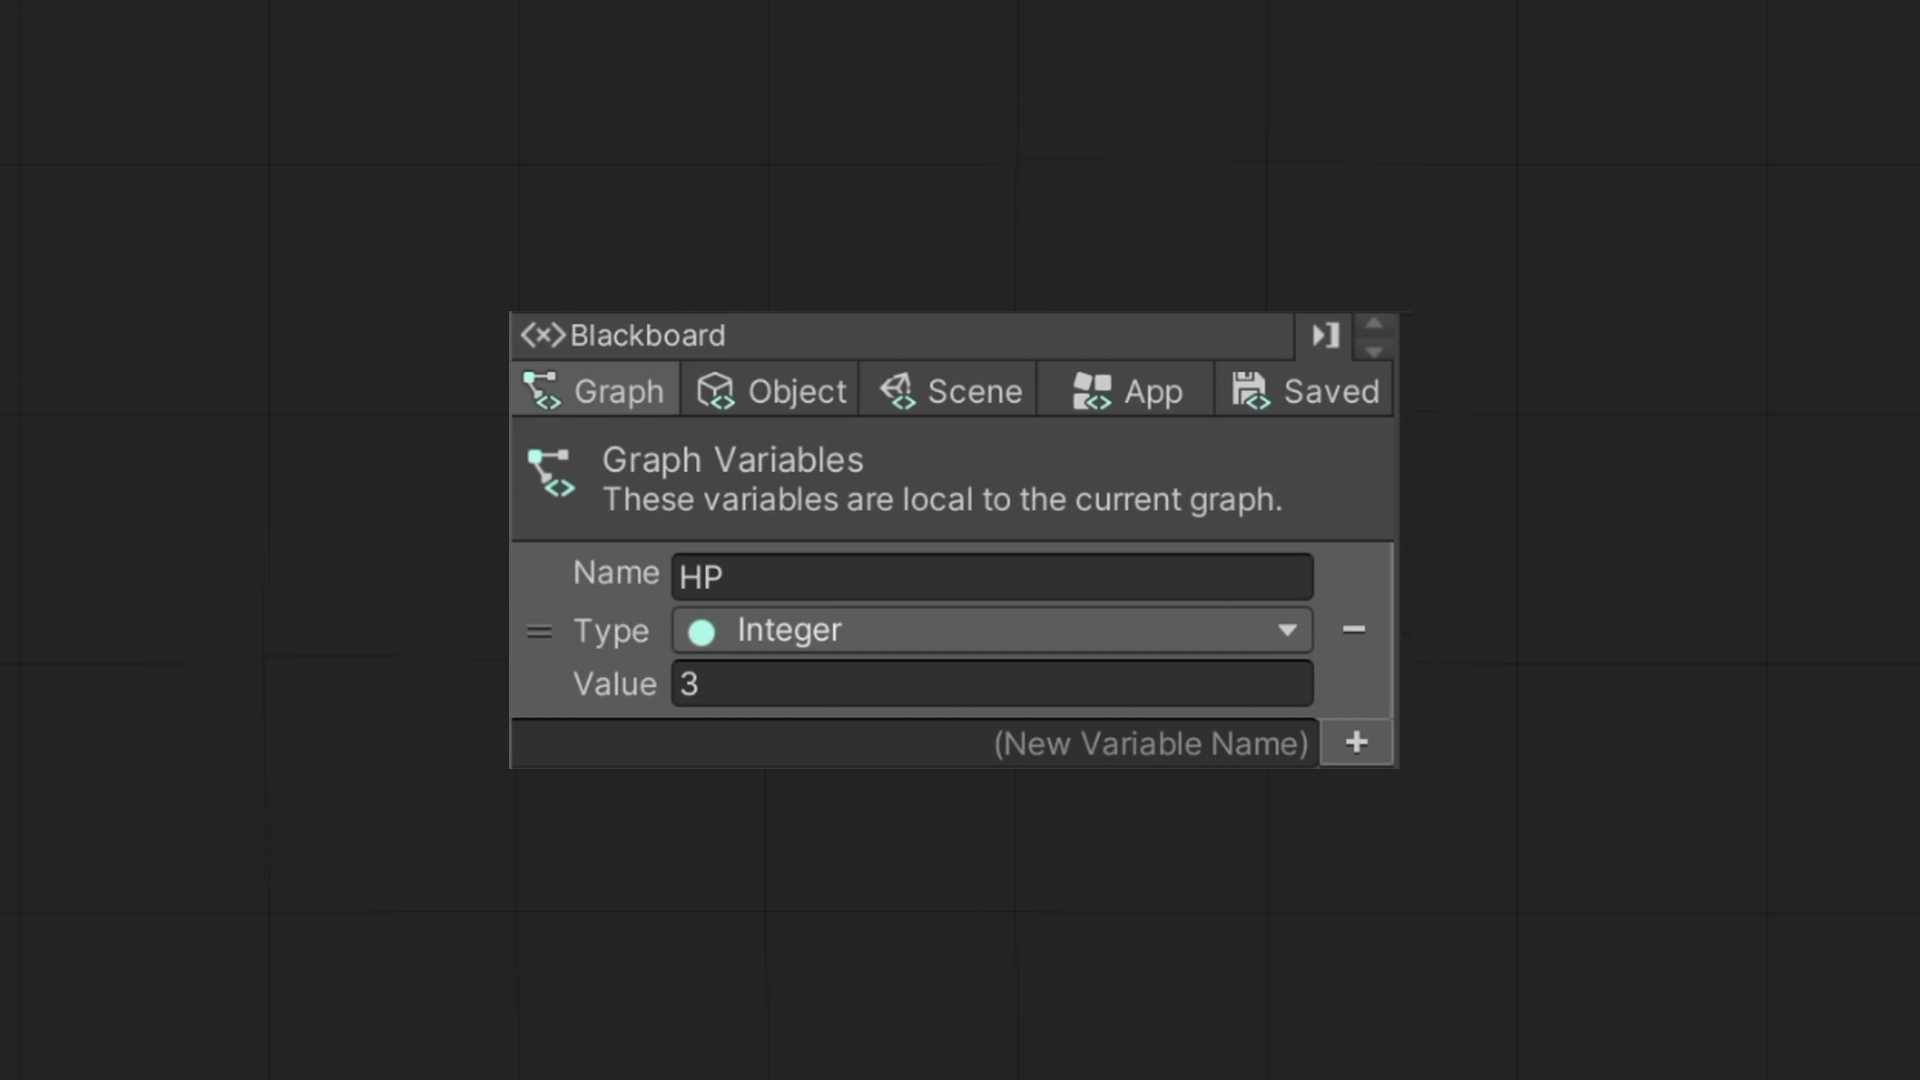
A variable has a name, a type, and a value.
The value inside a variable can change throughout the game.
Imagine we have a cookie jar and an envelope. The cookie jar can contain different kinds of cookies, be it chocolate cookies or macaroons.
An envelope, on the other hand, may only contain letters or postcards.
Every container can contain any value as long as it shares the same data type.
Therefore, we can’t put a cookie inside an envelope.
At any point, we can check which cookie is stored in the jar or replace it with another cookie.
Scopes
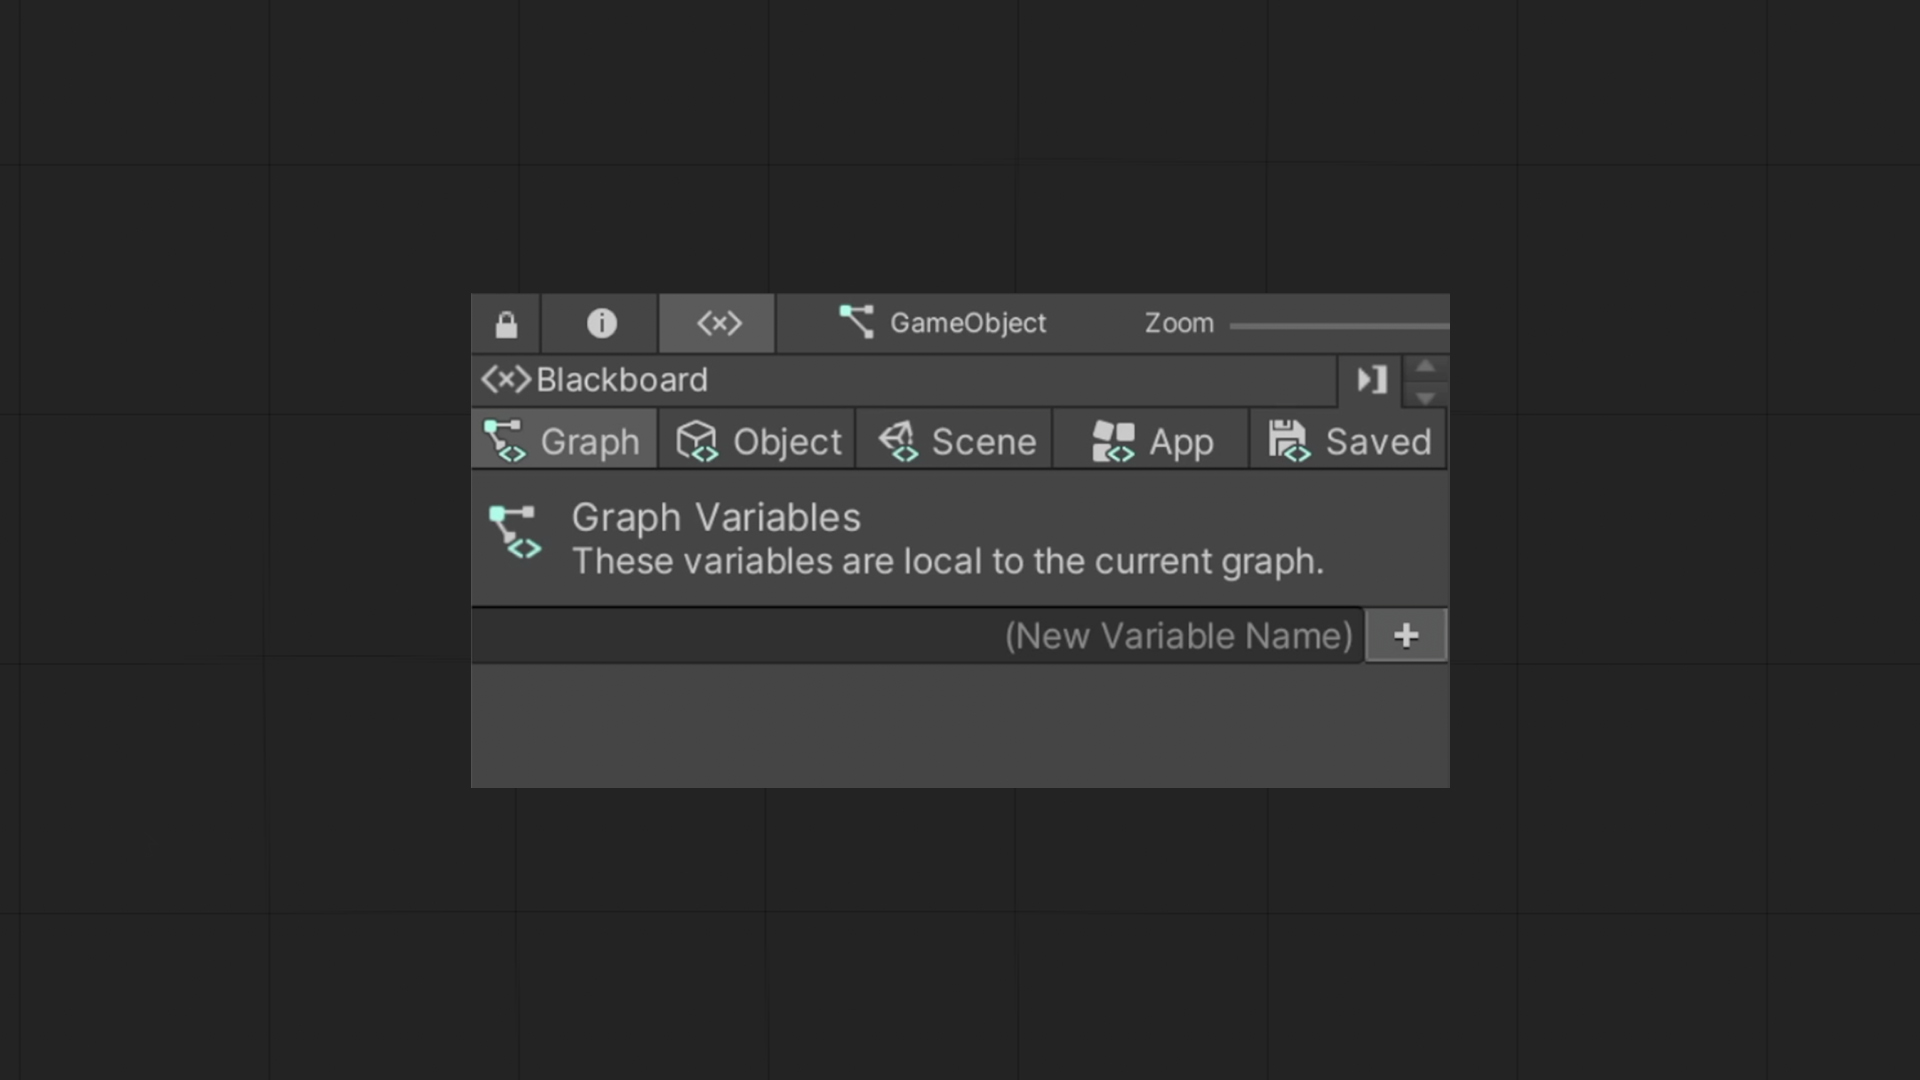
Each variable belongs to a single Scope. We may want a variable to only be accessible to the current script graph, all scripts in the scene, or even remember its value after quitting the game.
In Unity’s Visual Scripting, there are five kinds of Scopes:
Graph, Object, Scene, Application, and Saved.

Graph variables
Graph variables are local to the specific Script Graph. Therefore, they cannot be accessed or modified outside the script they are created in.
Object variables
Object variables are shared across all script graphs attached to a GameObject.
Note that we can also edit Object variables in the GameObject Inspector.
Scene variables
Scene variables are shared across all the script graphs in the current scene.
We can also edit these scope variables in the Inspector of the ‘Scene Variables’ GameObject placed in the scene. This GameObject will be created by Unity.
Application variables
Application variables are accessible from any script graph; their values remain even when the scene changes. However, they will reset once we quit the game.
Saved variables
Saved variables will persist even after we quit and resume the game.
Why should we use a small scope when one could use a larger access scope, like the Application scope?
There may be times when different objects will have similar variables, for example, health points. All enemies will have health points, but we need to differentiate each enemy’s health separately, according to the damaged they have taken.
It can be confusing at first. But over time, it will become evident which scope to use.
Creating a Variable
To add a variable, we choose the relevant scope tab, name the variable, and press enter. We can now select the data type the variable will remember, then we will fill in an initial value.

Under the Saved scope tab, we have Initial and Saved sub-tabs.
In the initial tab, we define the values that will automatically be created for new games.
In the saved tab, we can see the state of saved variables for our current computer.
Set & Get
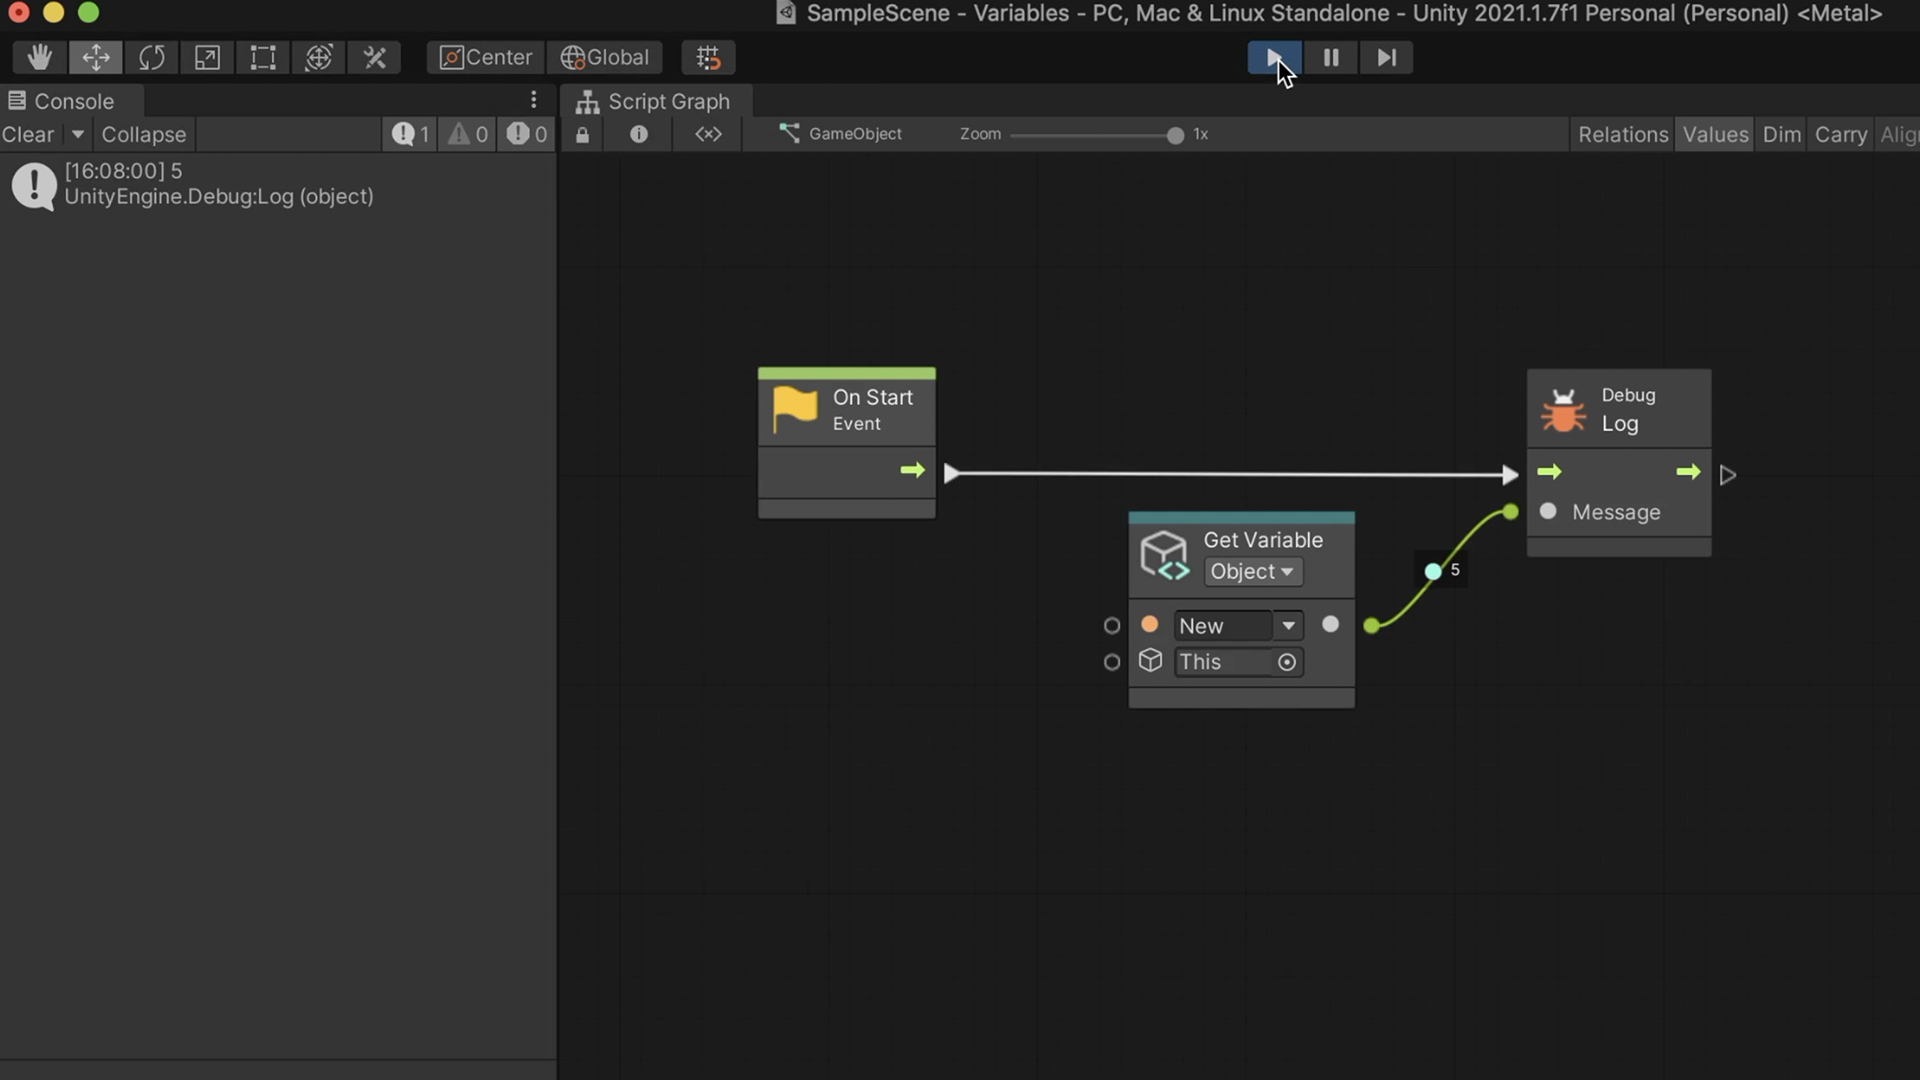
In the graph, we use the Get Variable node to get the information stored in it. This node gives us the current value stored in the variable. Searching it at the Fuzzy Finder will present us with different scopes to select from. We can also change the scope at the nodes themself.
We get our variable by either typing its name or selecting it from the list.
In this example, I have connected the Get Variable node to a Debug Log node, which will print the variable’s value to the console.

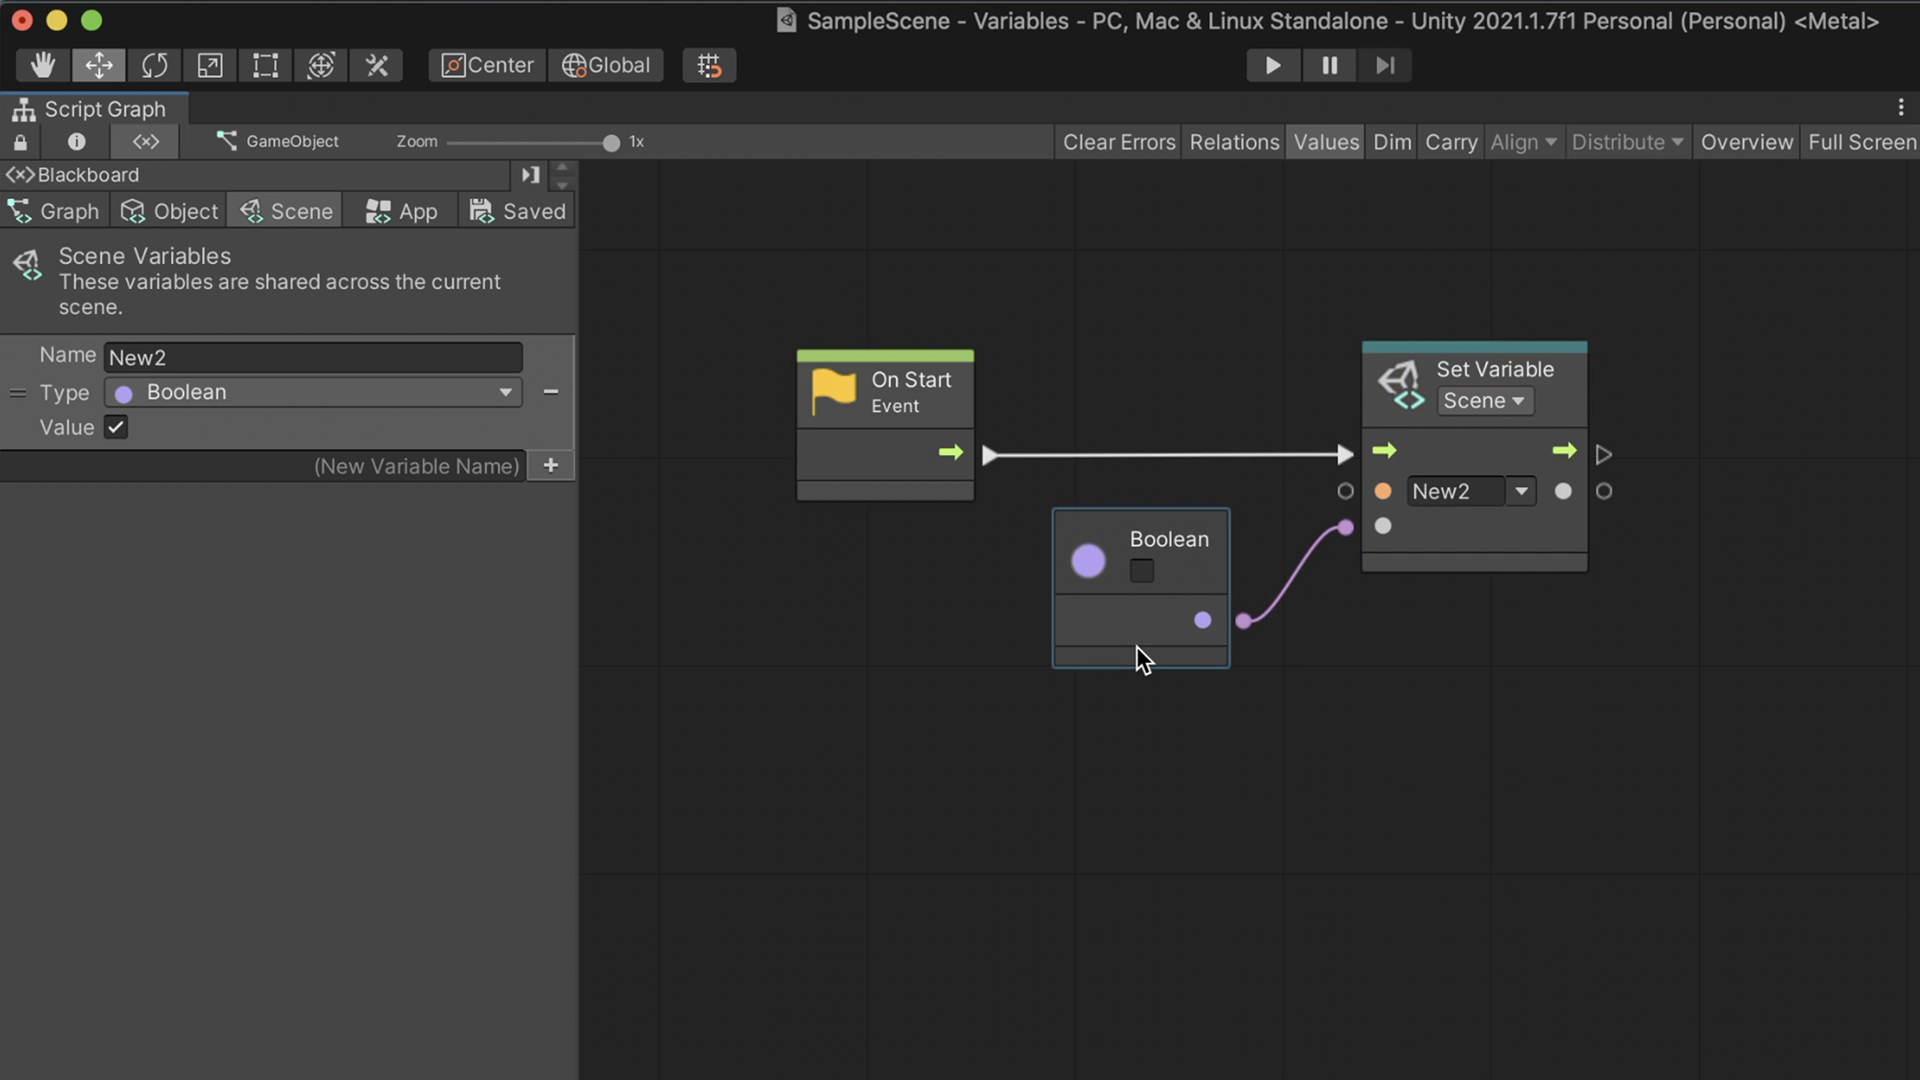
We can also change a variable’s value at any time by using the Set Variable node.
In this example, I have created a Scene variable that remembers a boolean data type and set it to false.

Next up, we’ll discuss working with loops & collections.
