Thank you for taking part in the NotSlot journey!
We invite you to join us in our next chapter:


Visual Scripting Components Part 2: Input
In this article, we will learn how to react to user input in Unity Visual Scripting; we’ll explore the nodes Unity offers for working with keyboard and mouse input and manage it through the Input Manager.
Keyboard Input
Let’s move a character right and left!
To react to a keyboard keypress, we use the On Keyboard Input node, select a key and an action to respond to. All the keys are available, but we choose the right arrow key for this example.
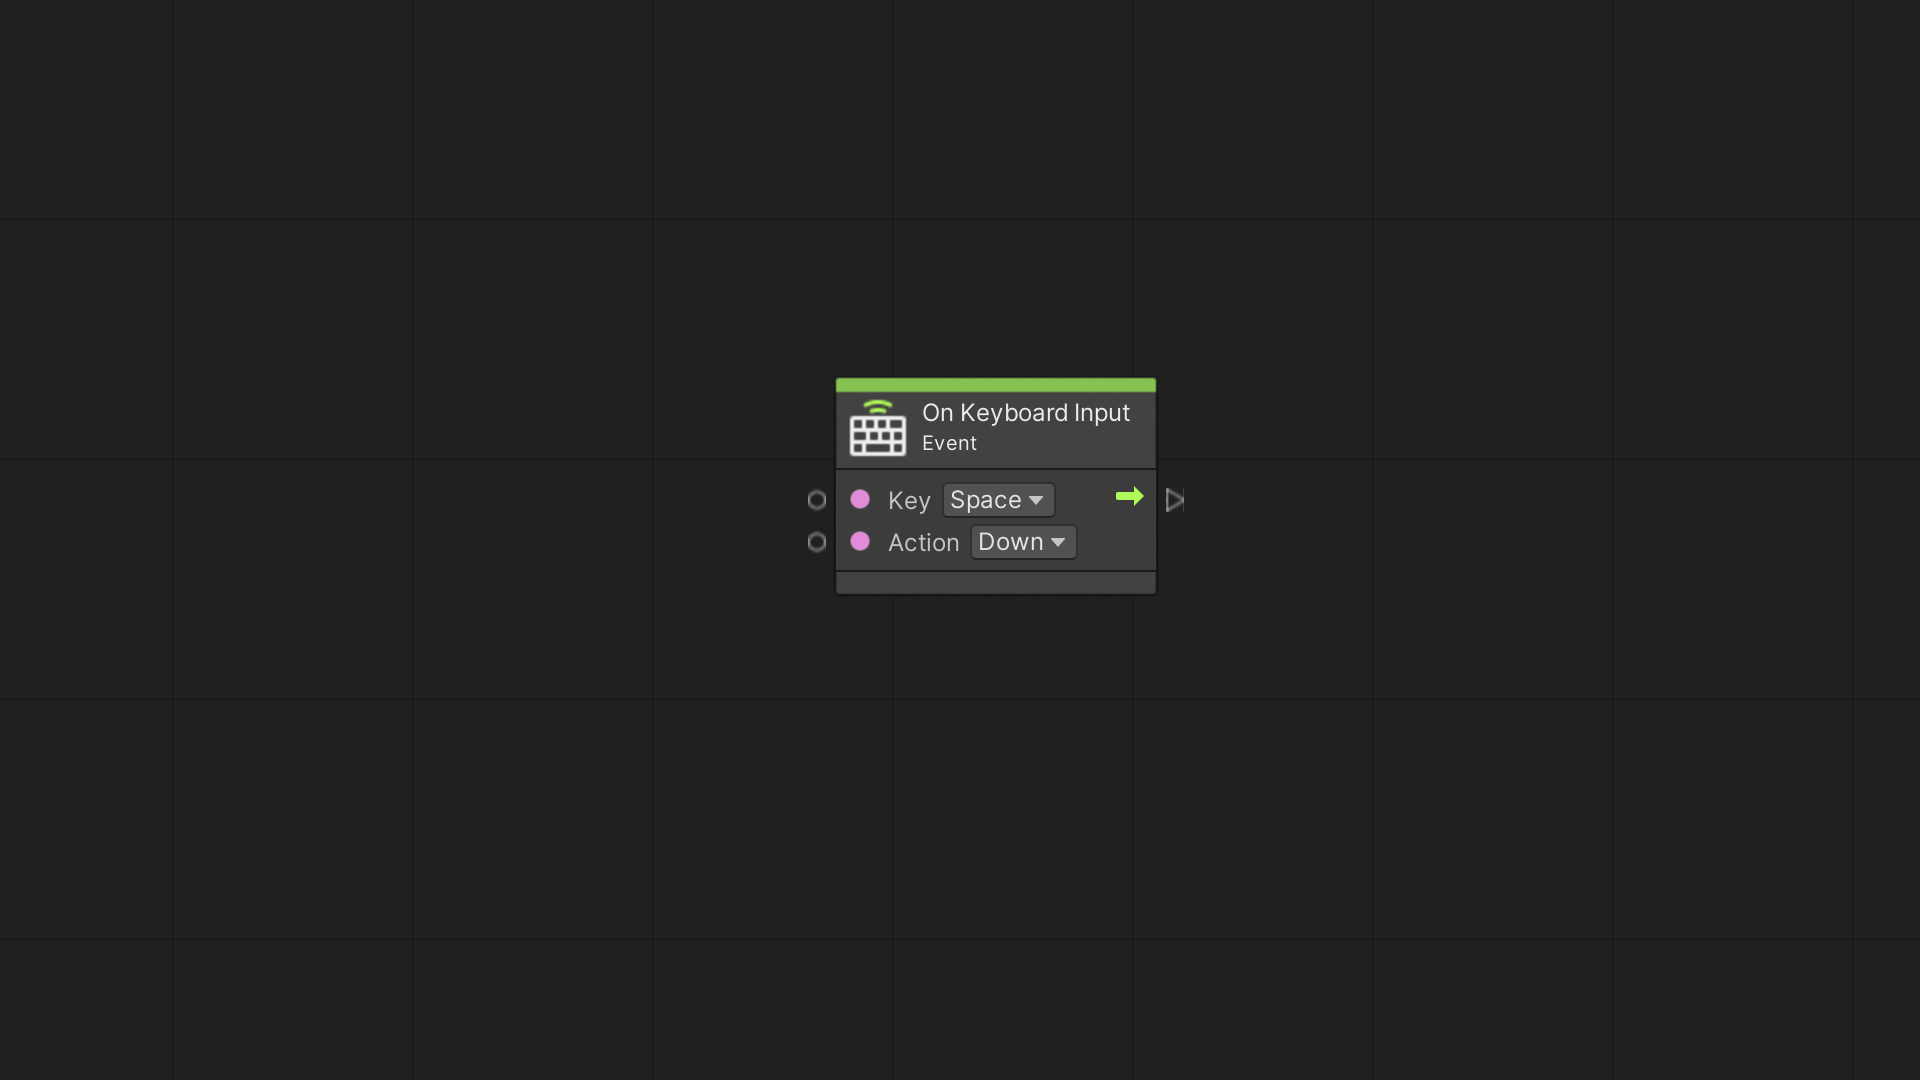
As for the action, we can choose from Hold, Down, and Up. We select Down when we only care for the exact frame the key is pressed, Up when the key is released, and Hold for as long as the key is pressed.
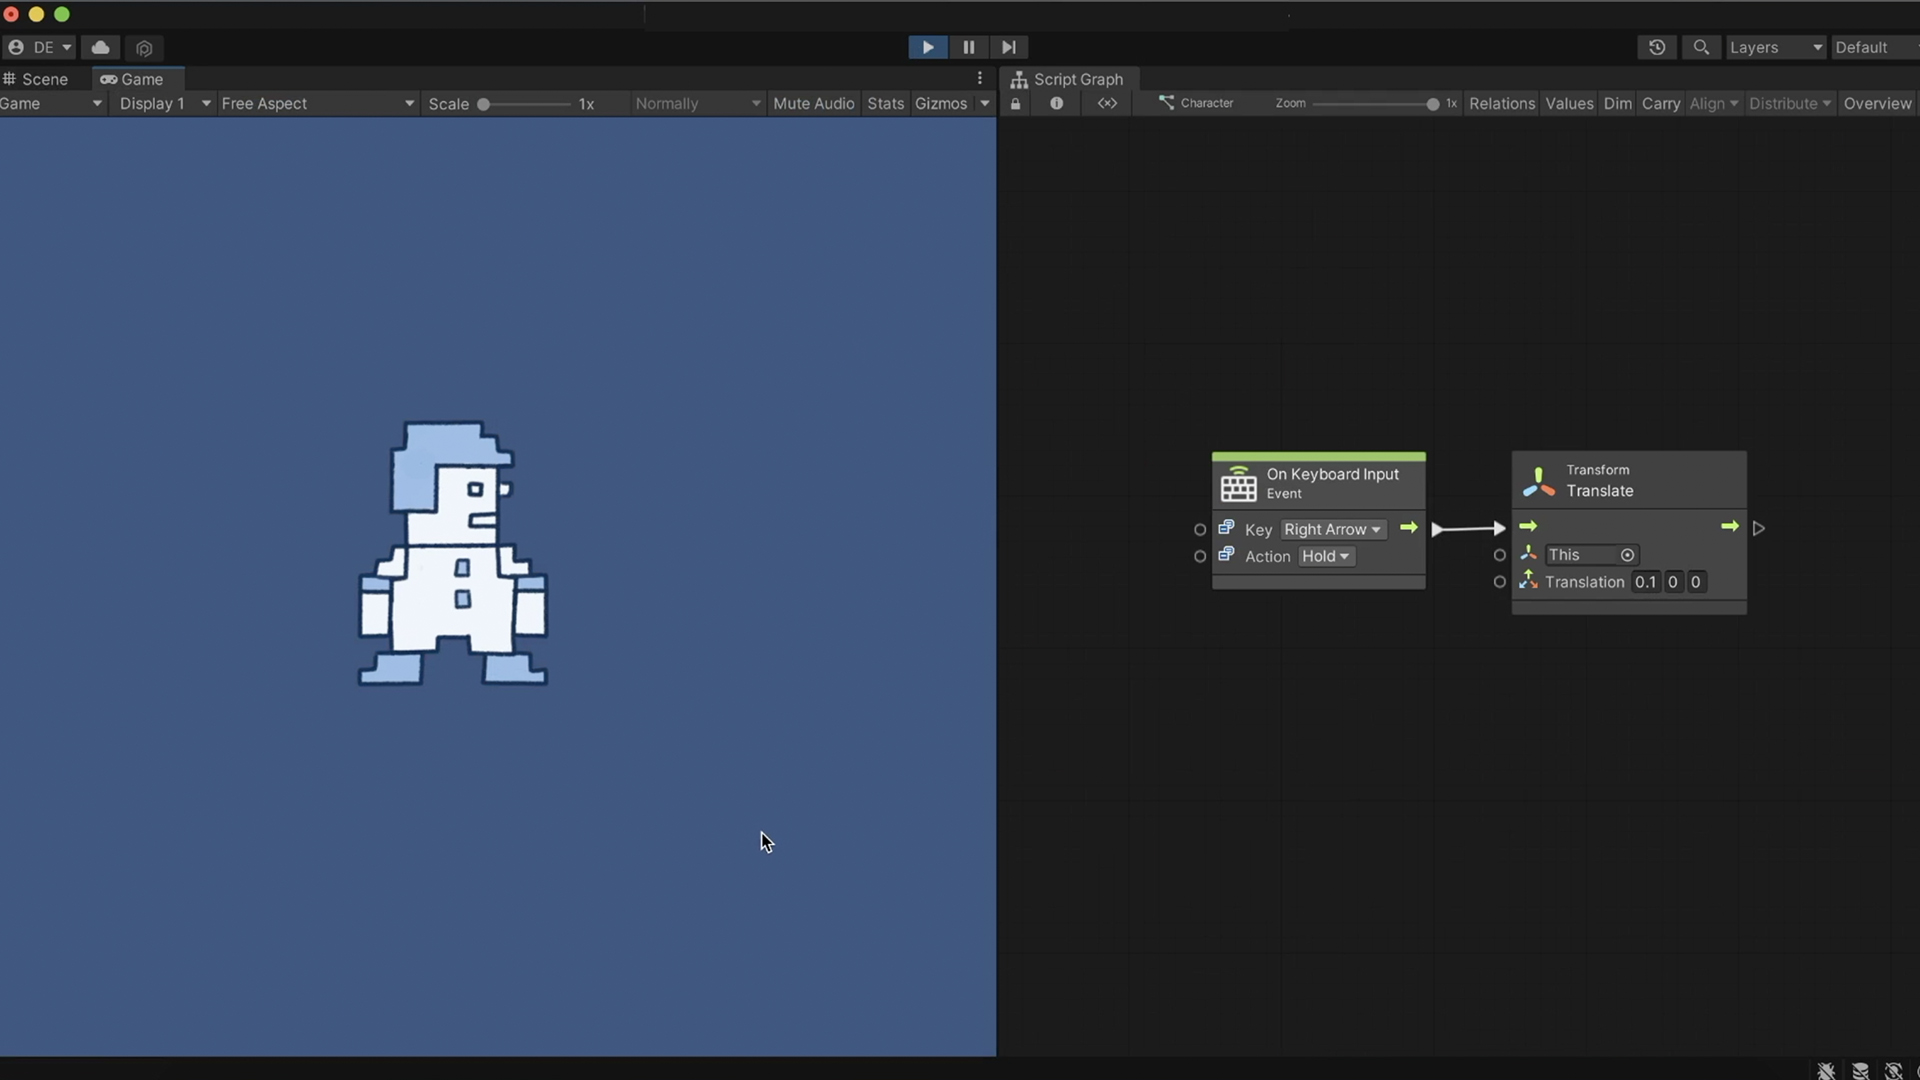
For moving a character right as long as the right arrow key is held down, we select the Hold action.
We’ll use the Translate node to move the character. We covered this node in the Transform article – check it out if you’re unfamiliar with it.
Insert the value 0.1 at the X-axis, and now, by holding down the right arrow, the character will move along the X-axis.
By duplicating this graph section while modifying the key to Left Arrow and value to -0.1, we can move the character in both directions.
Mouse
To learn about mouse input, we will use a new Game Object name Button.
Colliders
To recognize input coming from the player’s mouse, we need the Game Object to have a physical presence in the world by adding a collider component.
Colliders come in many shapes and aren’t actually visible in the game. We use them to define the object’s form in the Scene’s physics.
For now, just remember to use a Collider 2D for 2D objects and regular colliders for 3D objects. It is common to mix up those, so always double-check yourself.
For our button, we add a Box Collider 2D component.
Input
In the button’s Script Graph, we have a few nodes available for mouse input.
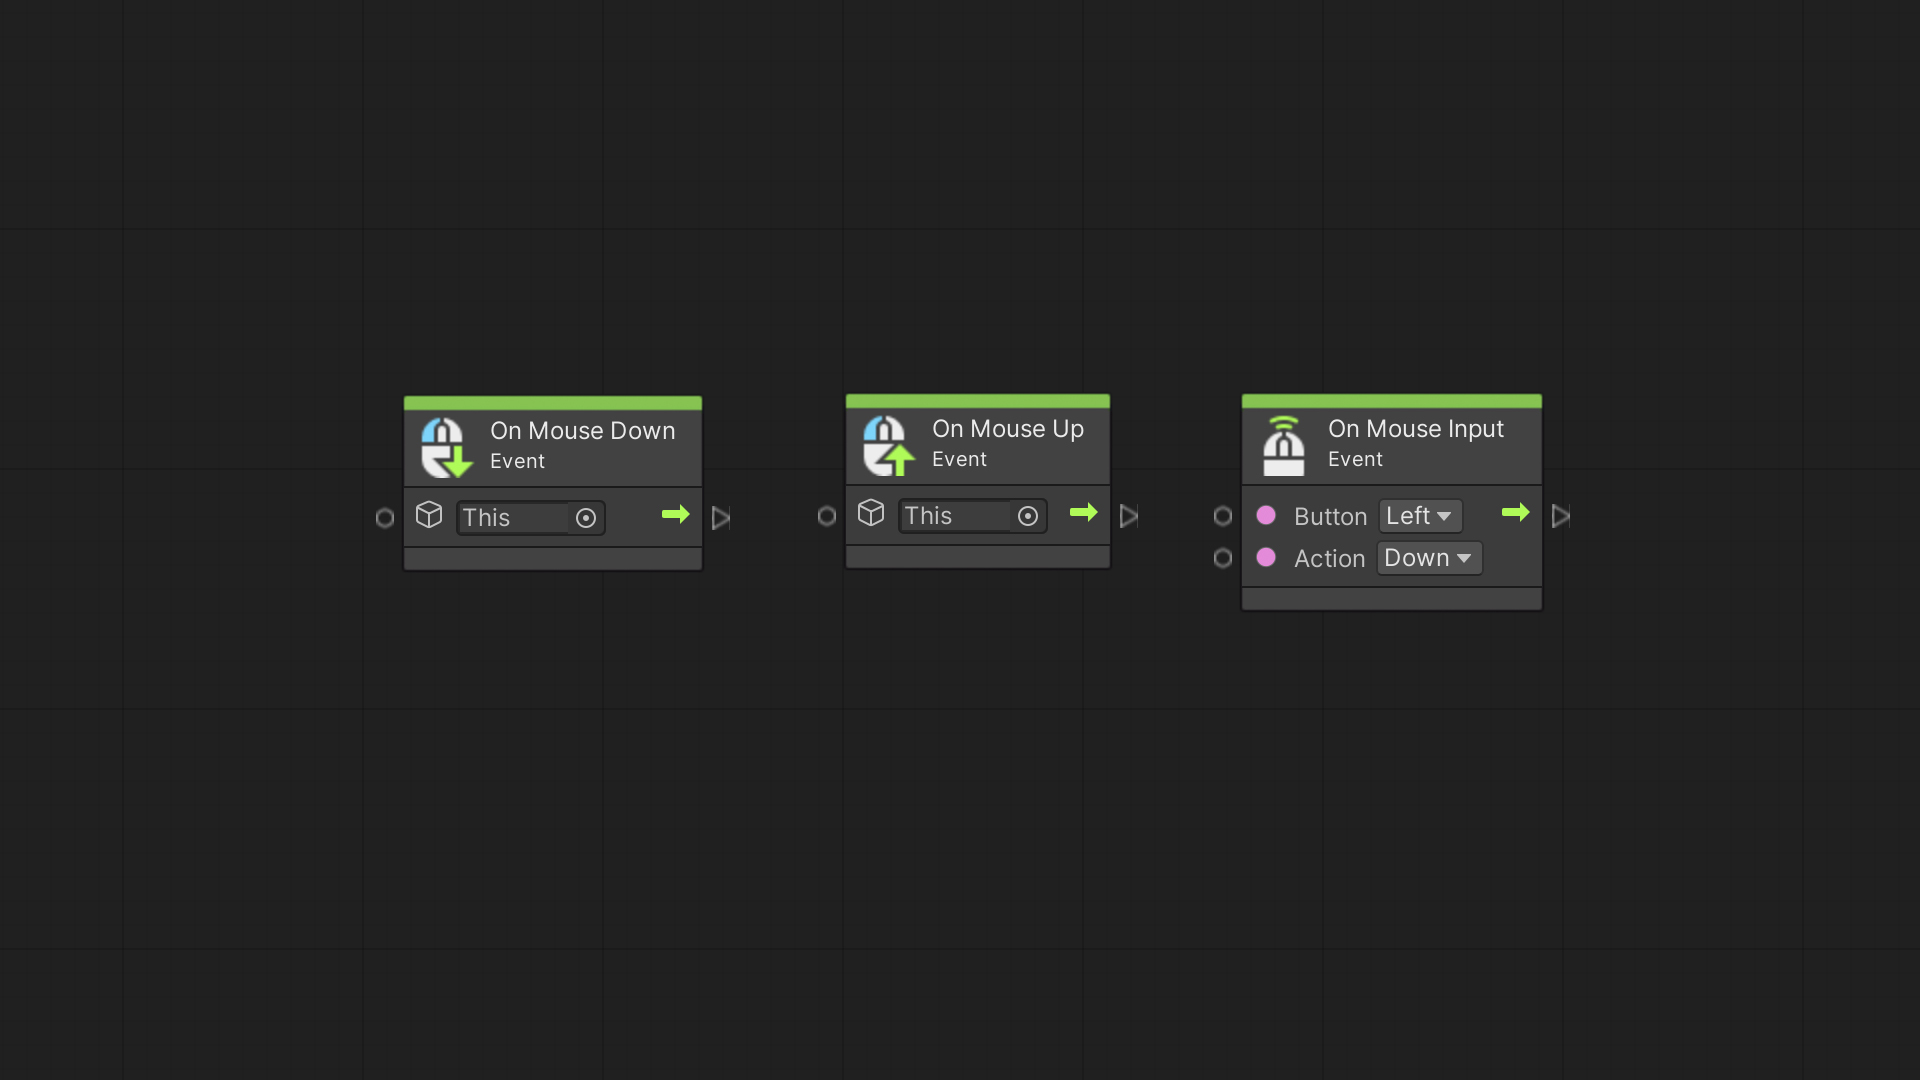
When the player presses the mouse button over a Game Object with a collider, the event On Mouse Down is triggered. When the mouse is released, the On Mouse Up event node will be called.
If we want to react to a player pressing a specific mouse button, we can use the On Mouse Input event node to specify which button to react to and to which action – Hold, Down, and Up.
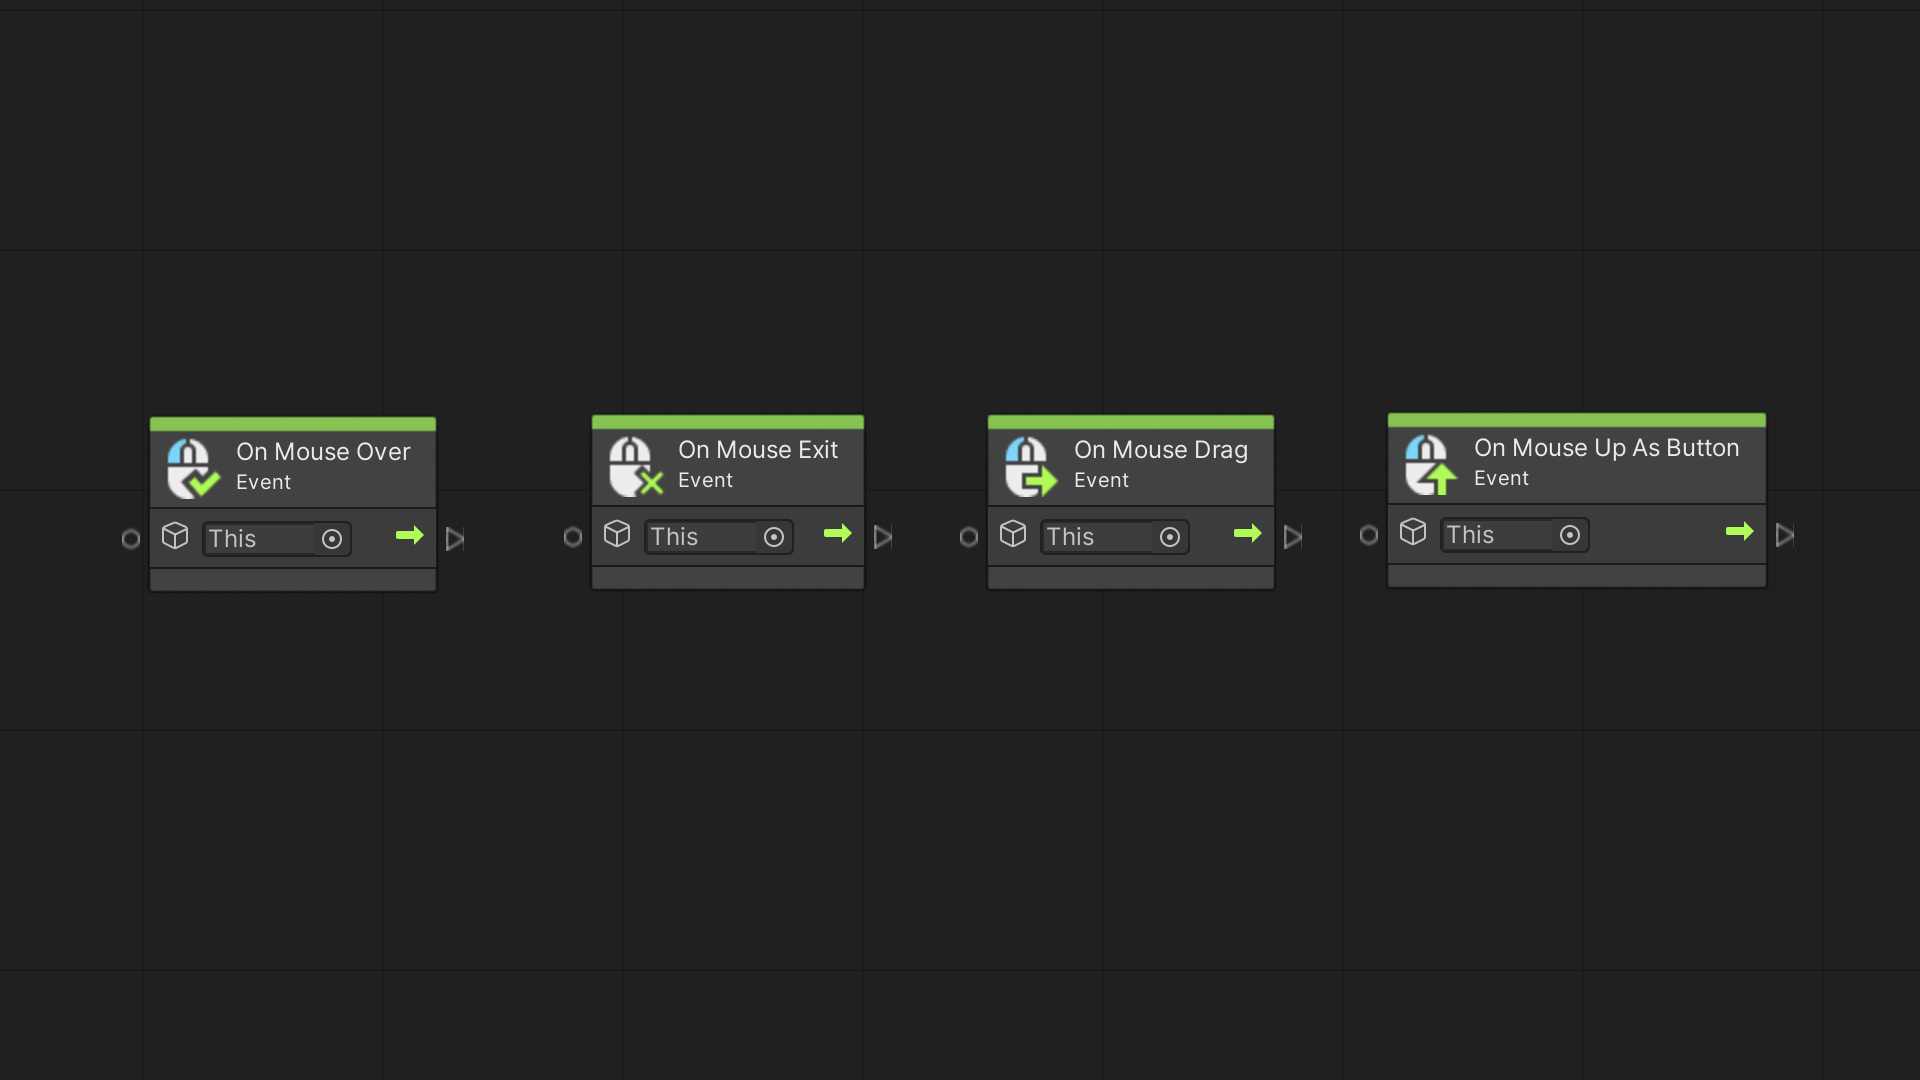
The On Mouse Over event node executes every frame as long as the mouse is over the Game Object’s collider. The On Mouse Exit event is triggered at the moment the mouse is no longer over the collider.
We use the On Mouse Drag event for reacting to a player clicking on a collider while still holding down the button.
And finally, the On Mouse Up As Button node is called when the player presses the mouse button and releases it over the exact same collider.
Input Manager
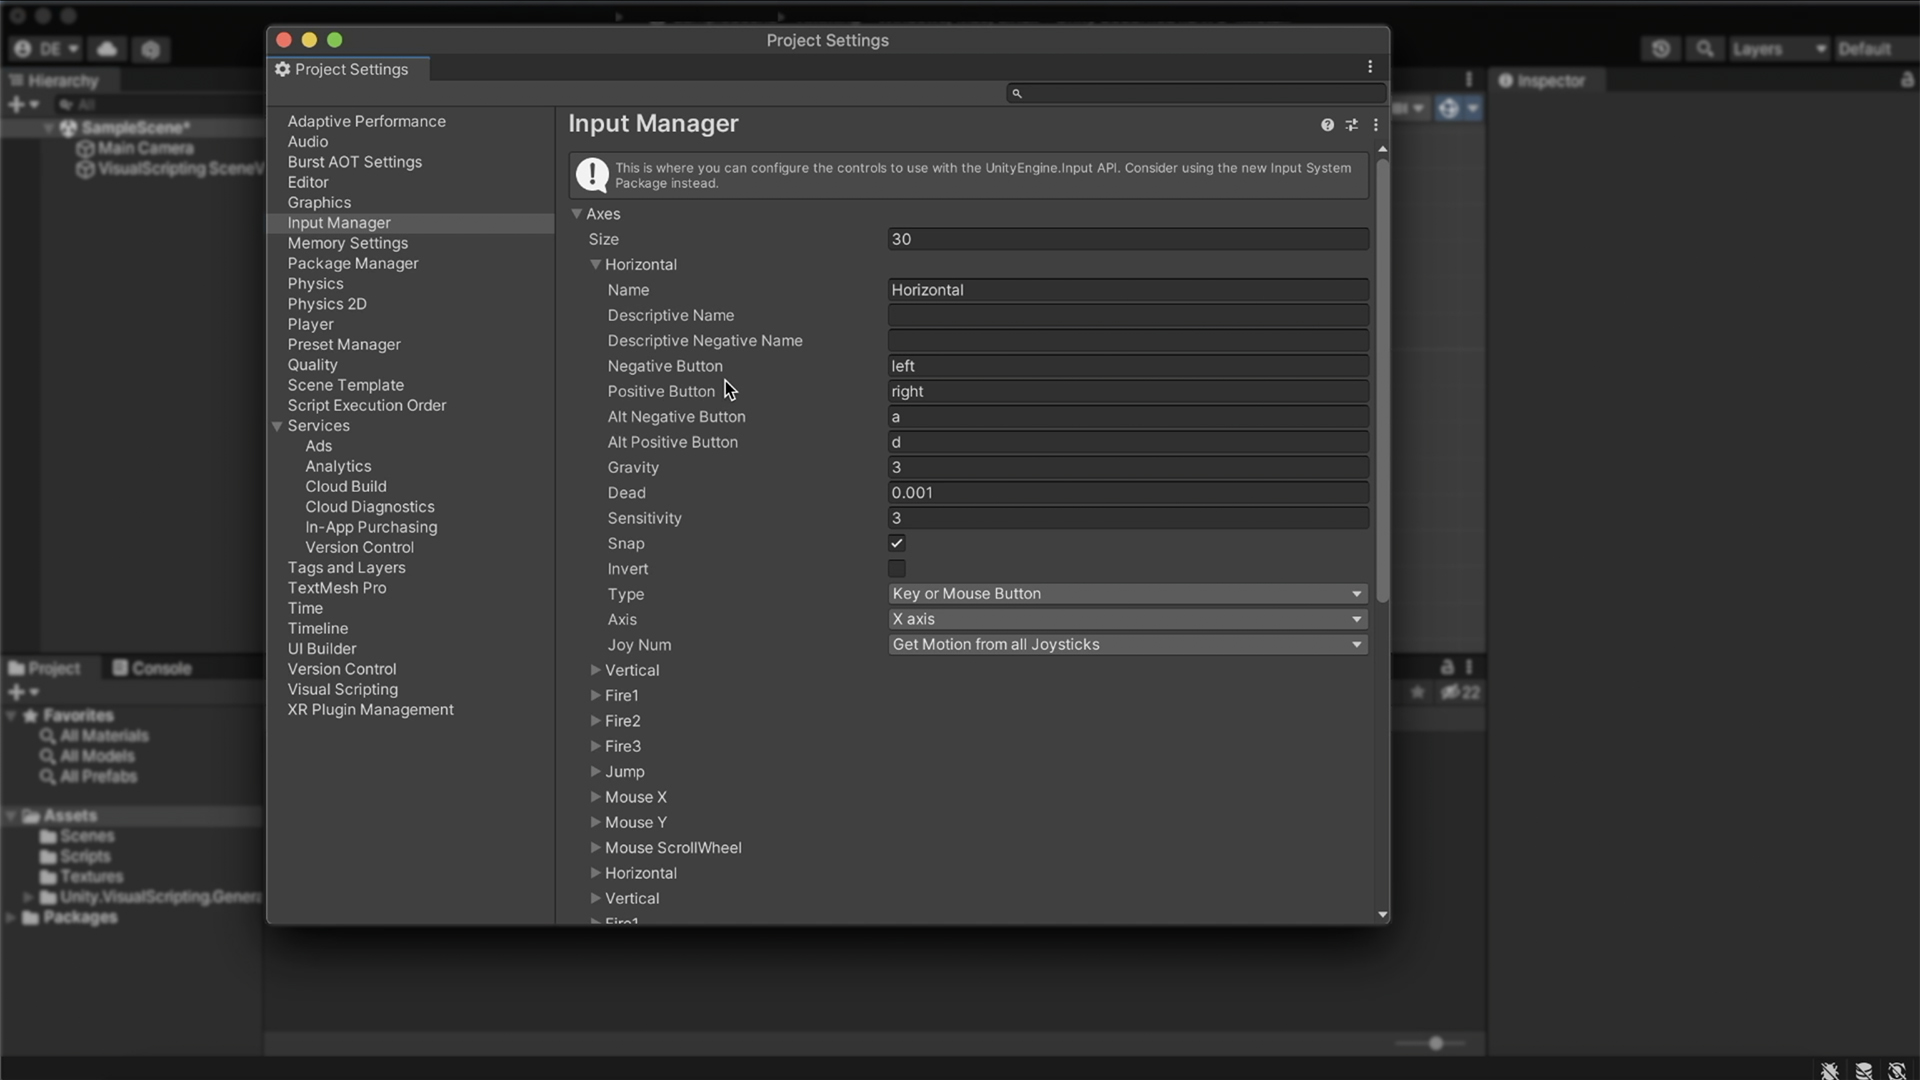
Unity provides us Input Axes predefined with an intended action at the Input Manager window.
To access it, go to Edit → Project Settings → Input Manager.
Virtual axes are mapped to physical controls, like a mouse button or a keyboard’s key. When a player activates the control, the axis receives a value between -1 to 1.
The axis value depends on the type of the physical control; for example, a keyboard’s key has a value of 1 when the key is pressed down and a value of 0 when it’s isn’t pressed.
While for a gamepad joystick, a value of 1 means the stick is pushed all the way in one direction, and a value of -1 means it’s all the way in the other direction; a fractioned value would mean the joystick is somewhere between those extremes.
Two of the predefined virtual axes we’ll cover are the Horizontal axis and the Vertical axis – one for actions relevant to the X-axis and the other for actions relevant to the Y-axis.
When we open the Horizontal axis, we can see how it’s defined for both the arrow keys and the alternative W A S D keys. The Positive Button is the control that yields a positive axis value, while the Negative Button is the control that will produce a negative value.
Jumping to the Jump axis, you will see it’s already set with the Space key as its control.
There are also other properties, but we will not go into them at this point, as we’ll just use the predefined axes as they are.
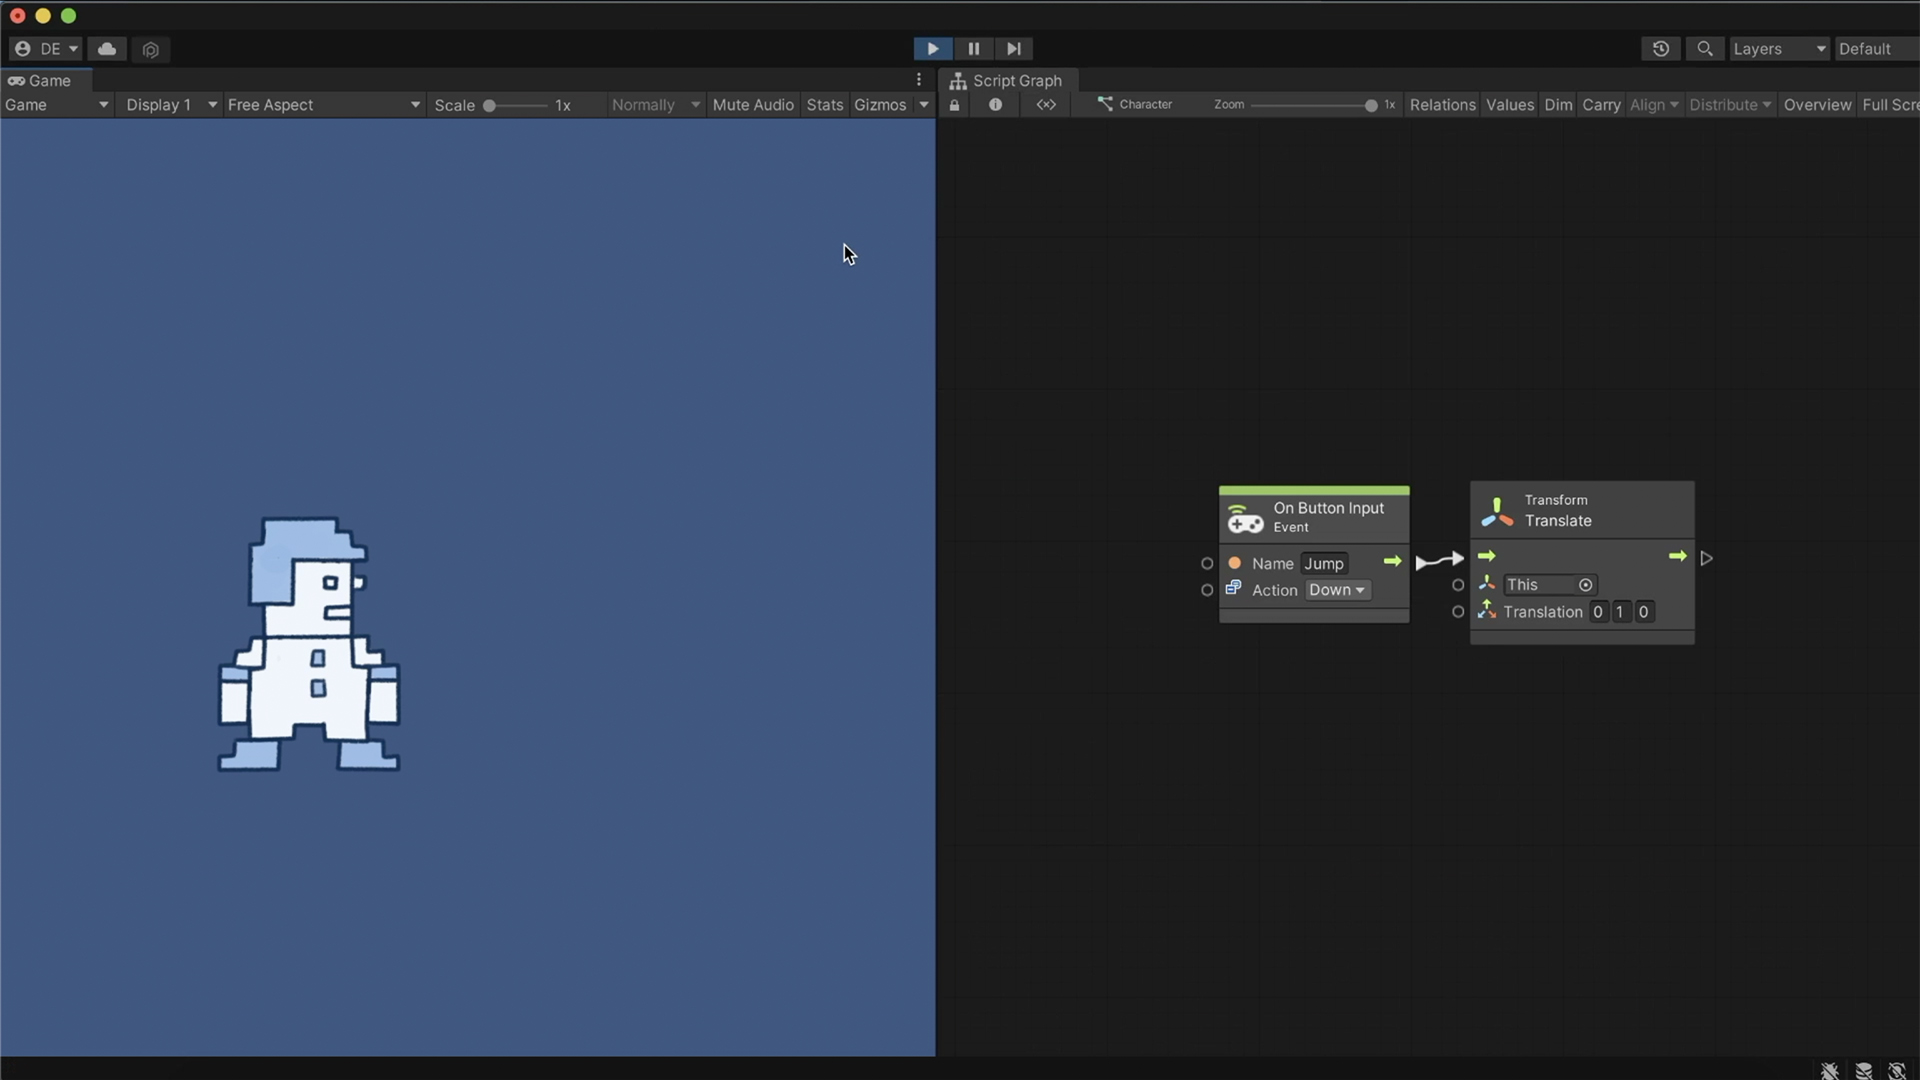
Back to our Script Graph, we got the On Button Input event; With this node, we can react to an input of the axis that exists in the Input Manager. We will use it with a virtual axis like Jump.
For example, let’s connect it to the Translate node with a Y value of 1. When we enter play mode, we can press the Space key on our keyboard, and the character will jump.
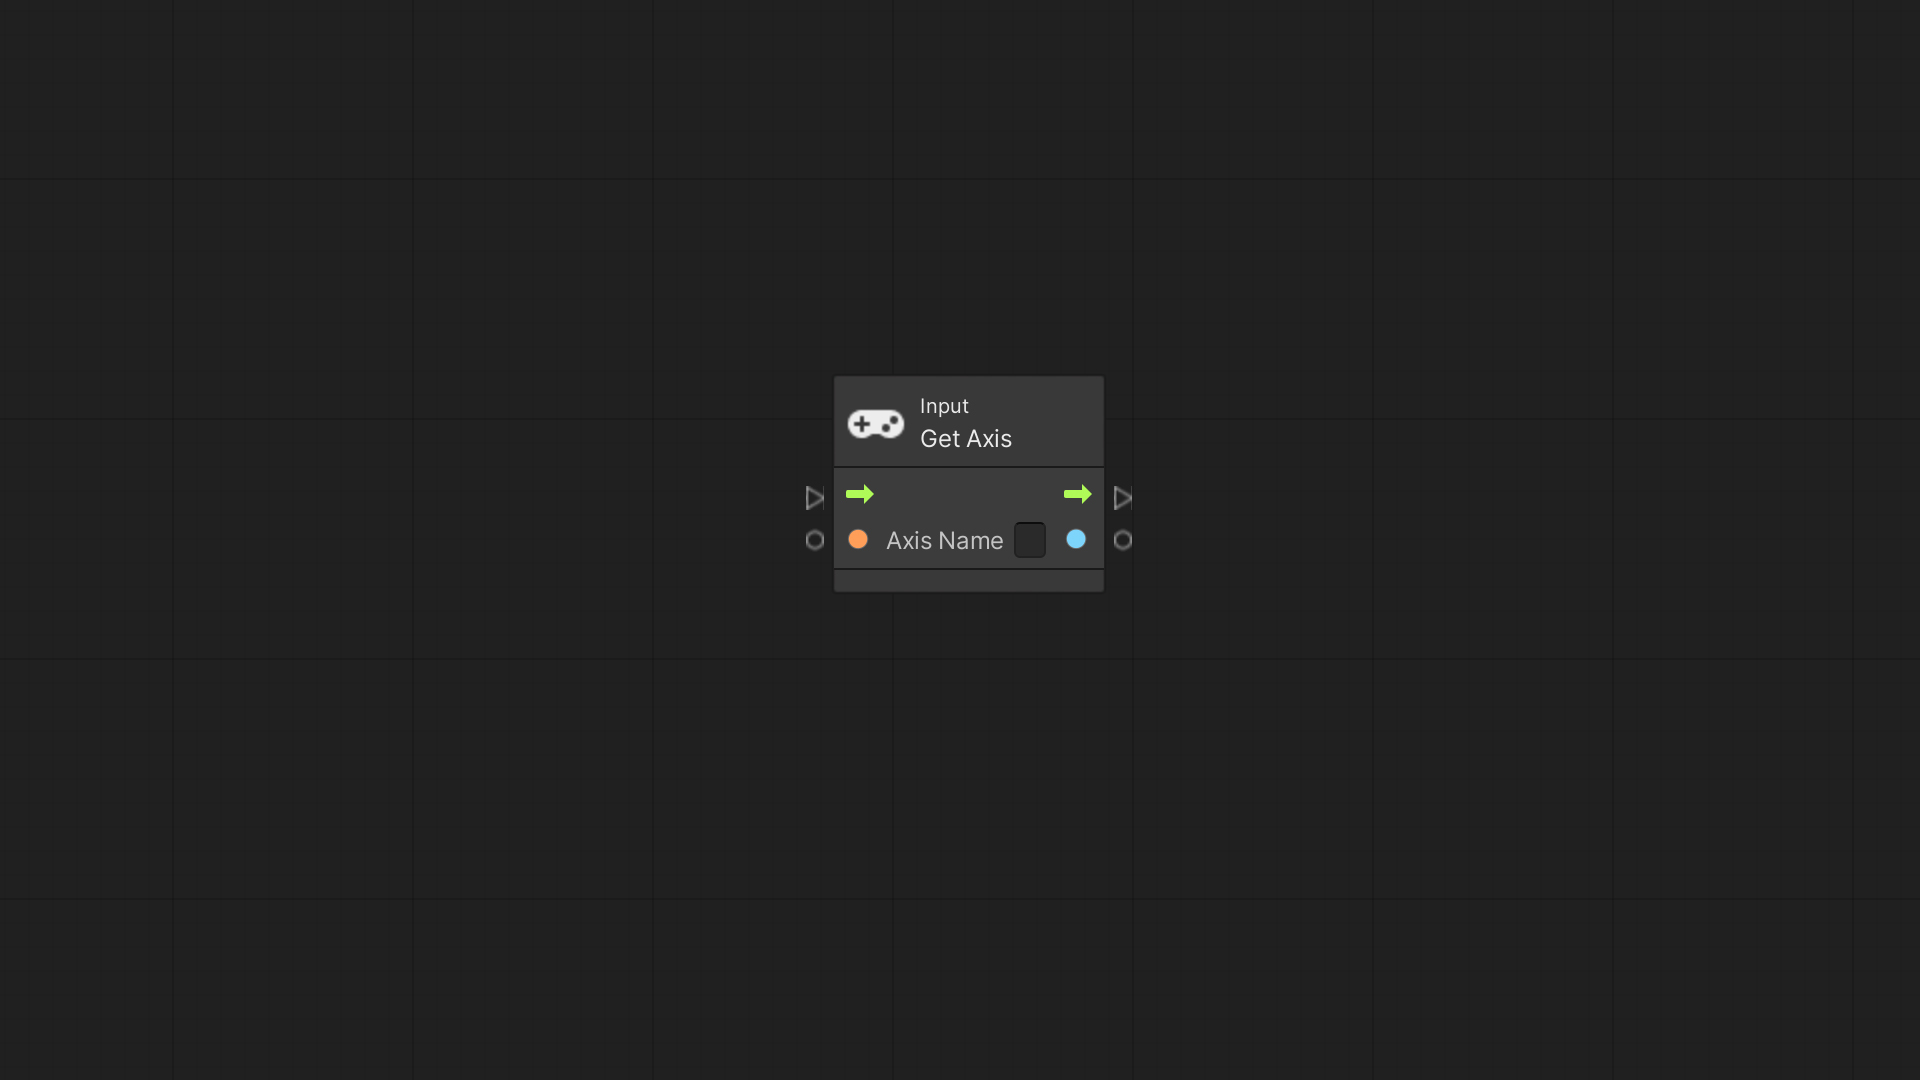
Another node we can use is Input Get Axis; with it, we can get the value of the virtual axis.
For example, let’s make the character move right and left using the keyboard.
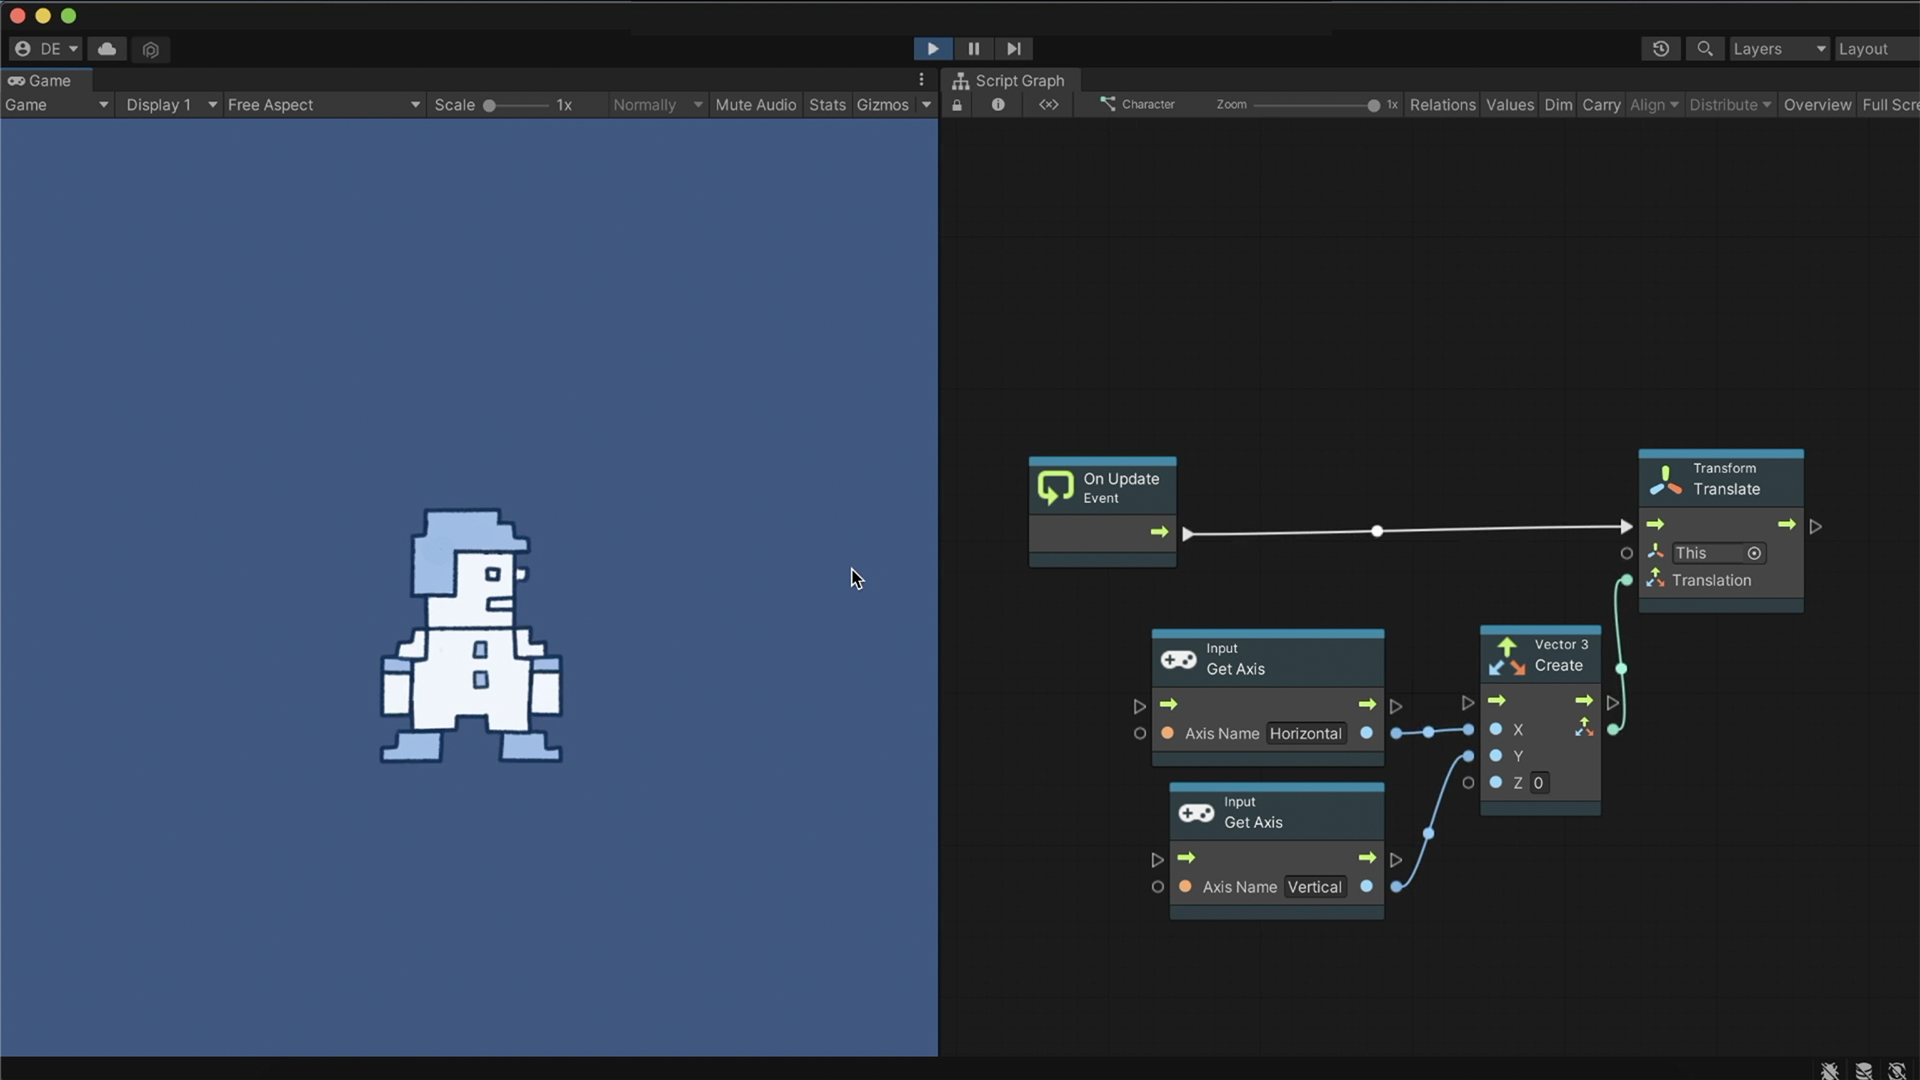
We start with the Update event node, as we constantly want to react to the player and connect it to the Translate node.
We want the character to move on the X-axis, so we will use the Input Get Axis node, name it according to the predefined Horizontal axis, and connect it to the Translate node using a Vector 3 Create node. This will provide the X-axis of Translate values between -1 to 1.
Now our character can move horizontally.
Let’s also make this character move vertically on the Y-axis. We duplicate the Input Get Axis node, name it according to the predefined Vertical axis, and connect it to the Y input.
We now have a character able to move on both the X and Y axes, powered by the arrow keys and the W A S D keys.
Mouse Position
The last topic we’ll cover is reacting to the mouse pointer’s position.
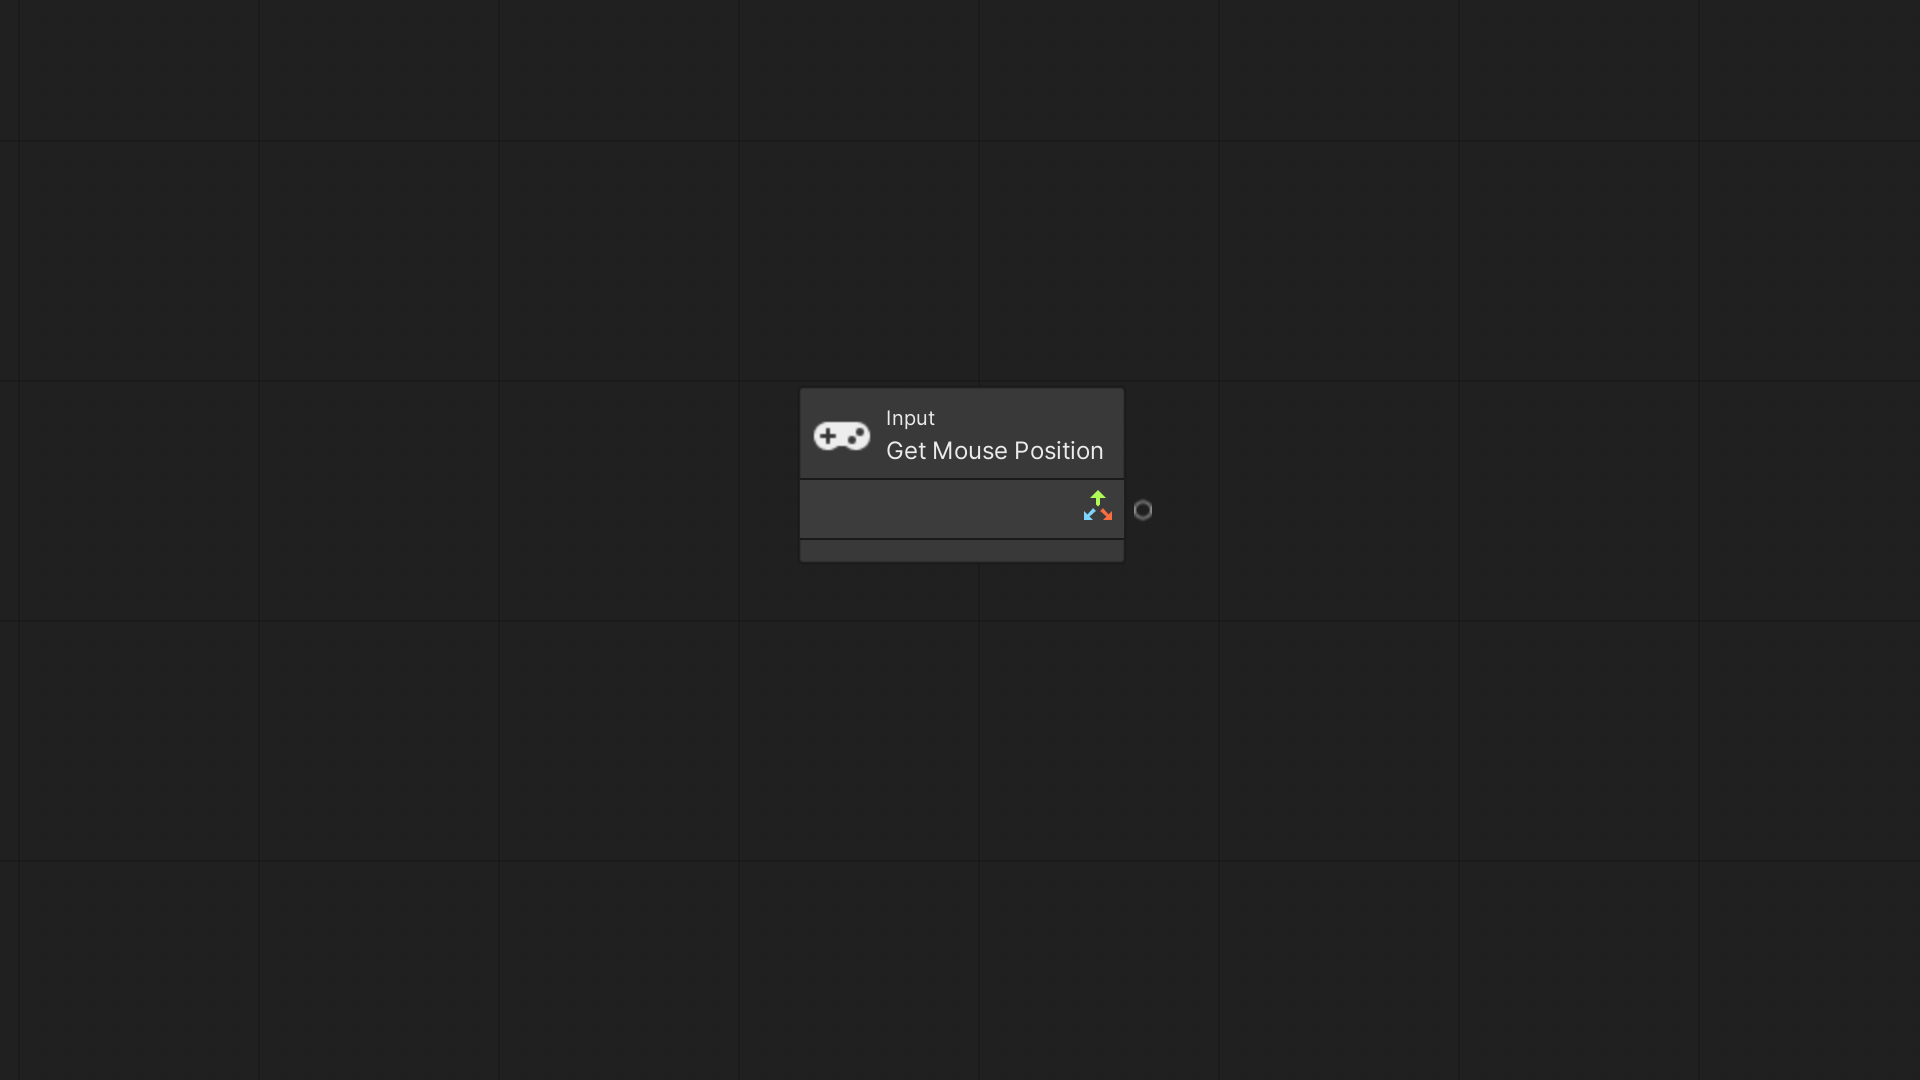
Get Mouse Position node provides us the current pixels screen position of the mouse.
Let’s use it to make an object face the mouse pointer. We got familiar with the Look At node in the previous article; We’ll use it to rotate the object to face the mouse as it moves.
We’ll also use two camera nodes to convert the screen’s pixels location of the mouse into a Unity World position.
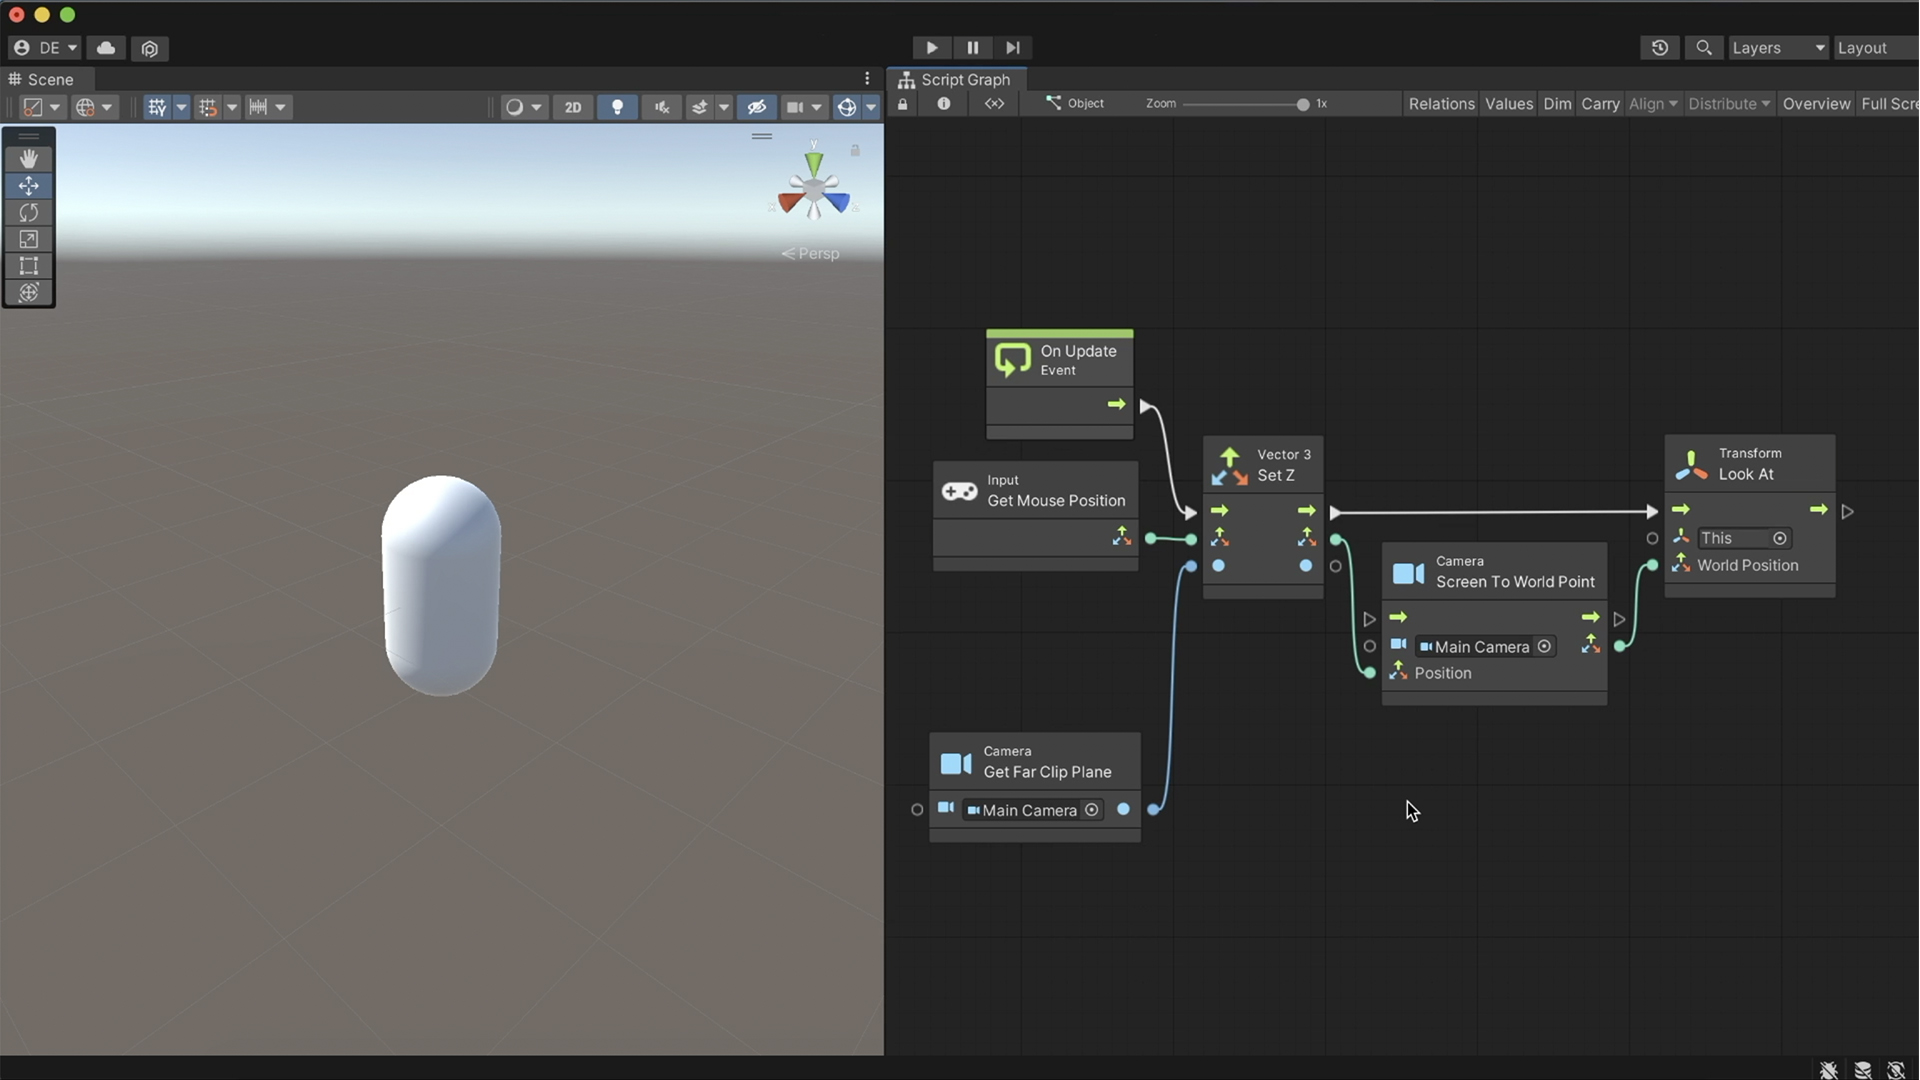
We set the graph as shown. On every frame, we pass the converted Z mouse position to the Look At node.
Pressing play, we can see how the object faces the mouse pointer. In the Scene window, we can observe how the blue arrow gizmo always points to the pointer position in the Game window.
Thank you for following along!