Thank you for taking part in the NotSlot journey!
We invite you to join us in our next chapter:
Visual Scripting Components Part 4: Sprites
In this article, we’ll learn how to use Sprites with Unity Visual Scripting.
But before jumping into scripting, let’s quickly overview using Unity Sprites...
Sprite’s Texture
A Sprite is a 2D Game Object connected to a texture, either a JEPG or a PNG file.
When we set up our project in 2D mode, any JEPG or PNG texture we import will automatically be set as a Sprite.
If our project is in 3D mode, we can set the texture as Sprite by changing the Texture Type in the Inspector.
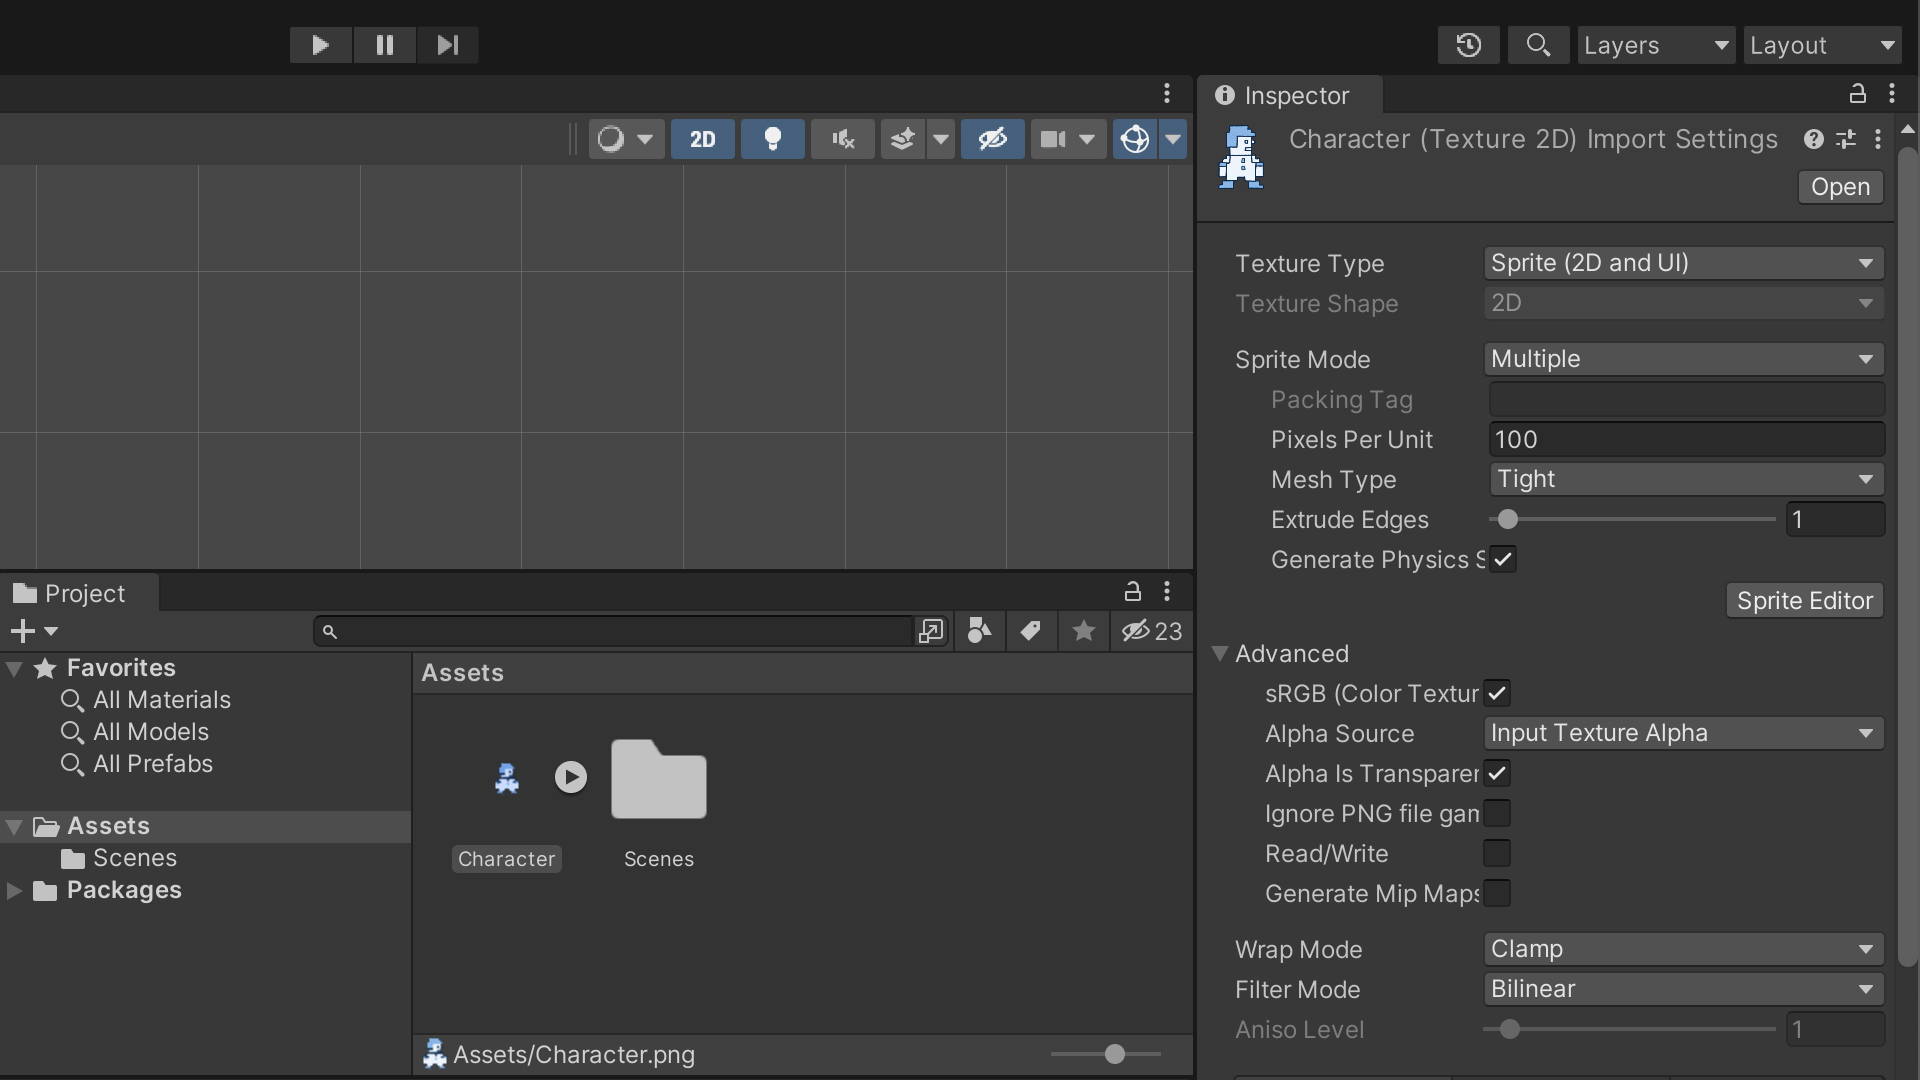
We can also edit some of the texture’s properties:
Sprite Mode
We can set how to extract the Sprite from the texture at the Sprite Mode. The Single Mode uses the texture as-is, and the Multiple Mode is for splitting the texture into two sprites or more.
Sprite Editor
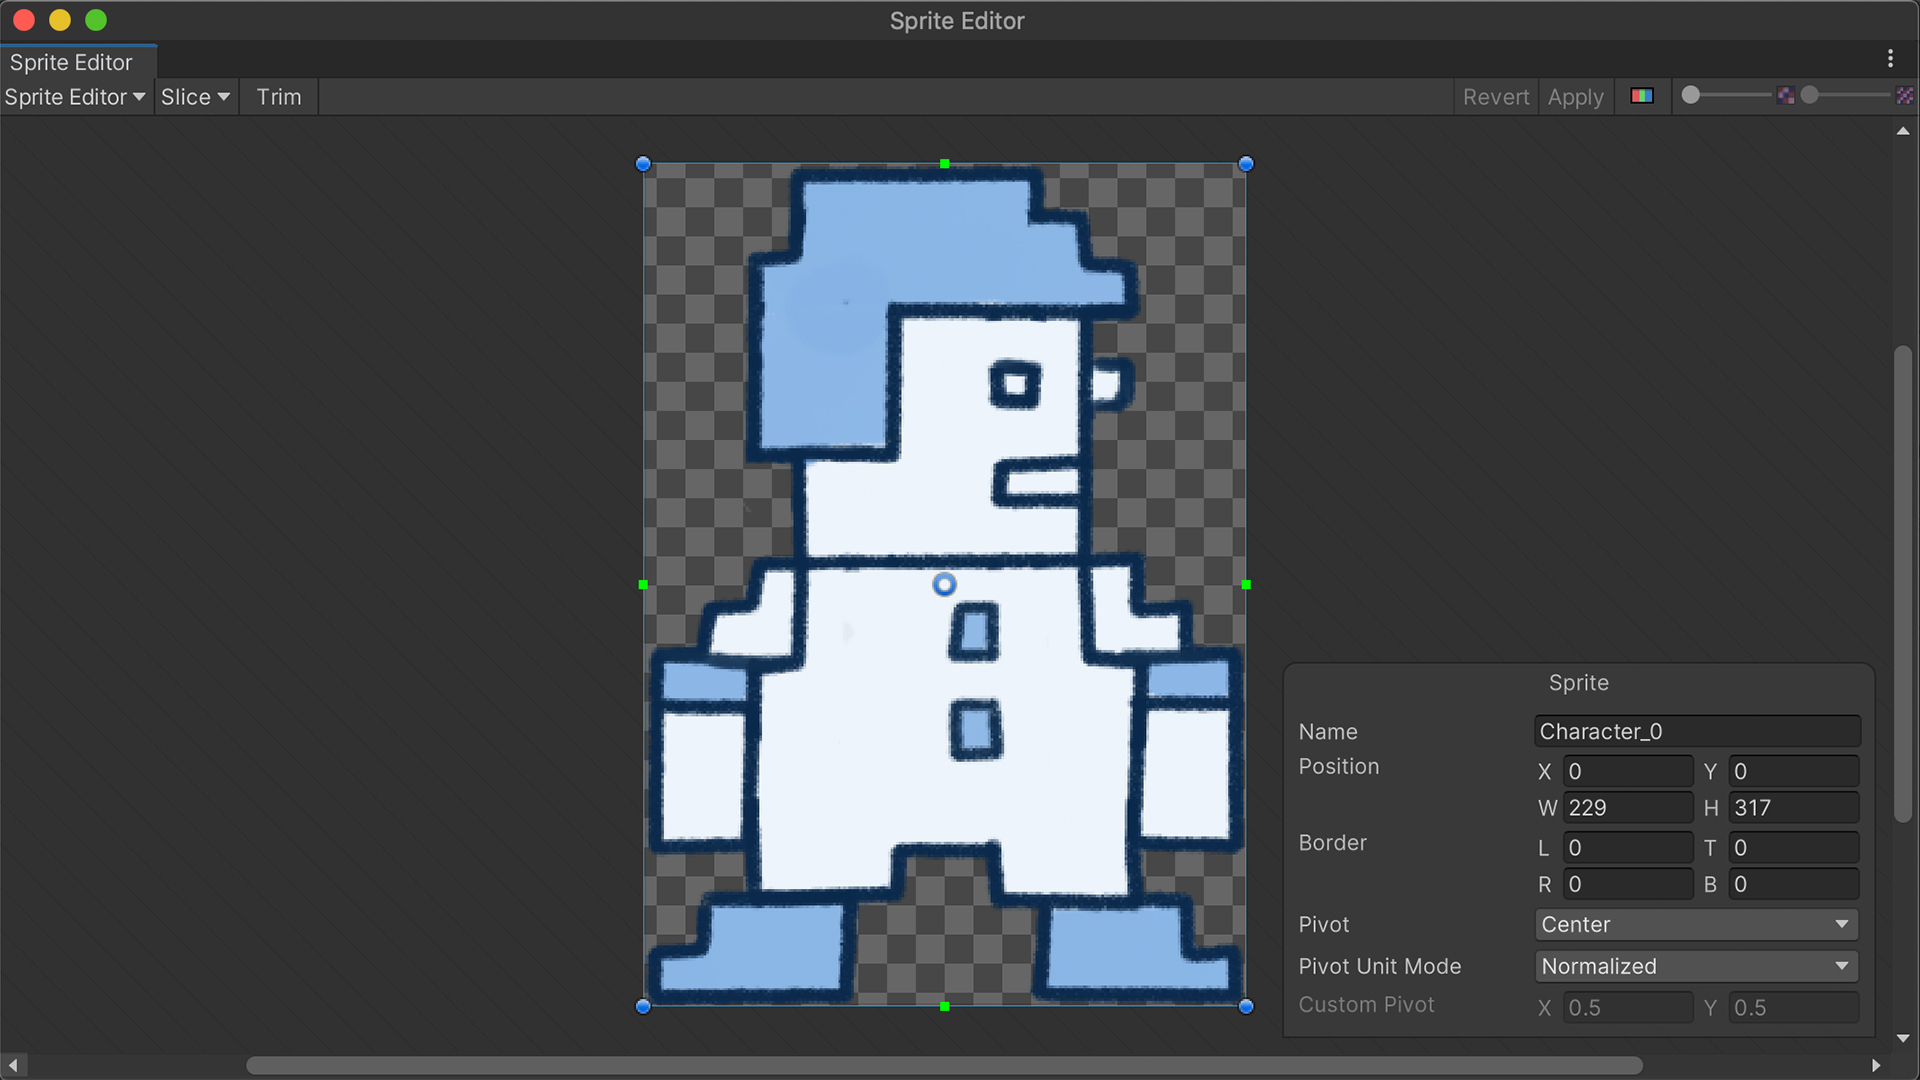
When we are in Multiple Mode, we can open the Sprite Editor, separate the texture into multiple sprites, and redefine their outline shapes. We can either do that manually by clicking on the surface and dragging to create a rectangular selection or automatically by selecting one of the different slicing options in the Slicing menu.
When selecting one of the created outlines, we can change its Sprite’s name, position, size, and pivot.
Ensure the 2D Sprite package is installed to use the Sprite Editor.
Pixels Per Unit
Back to the Inspector, using the Pixels Per Unit option, we can determine how many pixels fit inside a single grid unit. A higher number means the rendered Sprite will be smaller in dimension but higher quality.
Sprites & Scenes
We add a Sprite into a Scene by adding an empty Game Object and attaching a Sprite Renderer component. We can assign the Sprite we want to render with this component.
Another more straightforward approach to adding a Sprite is simply dragging it into the Scene.
Sprites Scripting
Finally, inside a Script Graph, we can access and change the different properties of a Sprite Renderer component.
Rendered Sprite
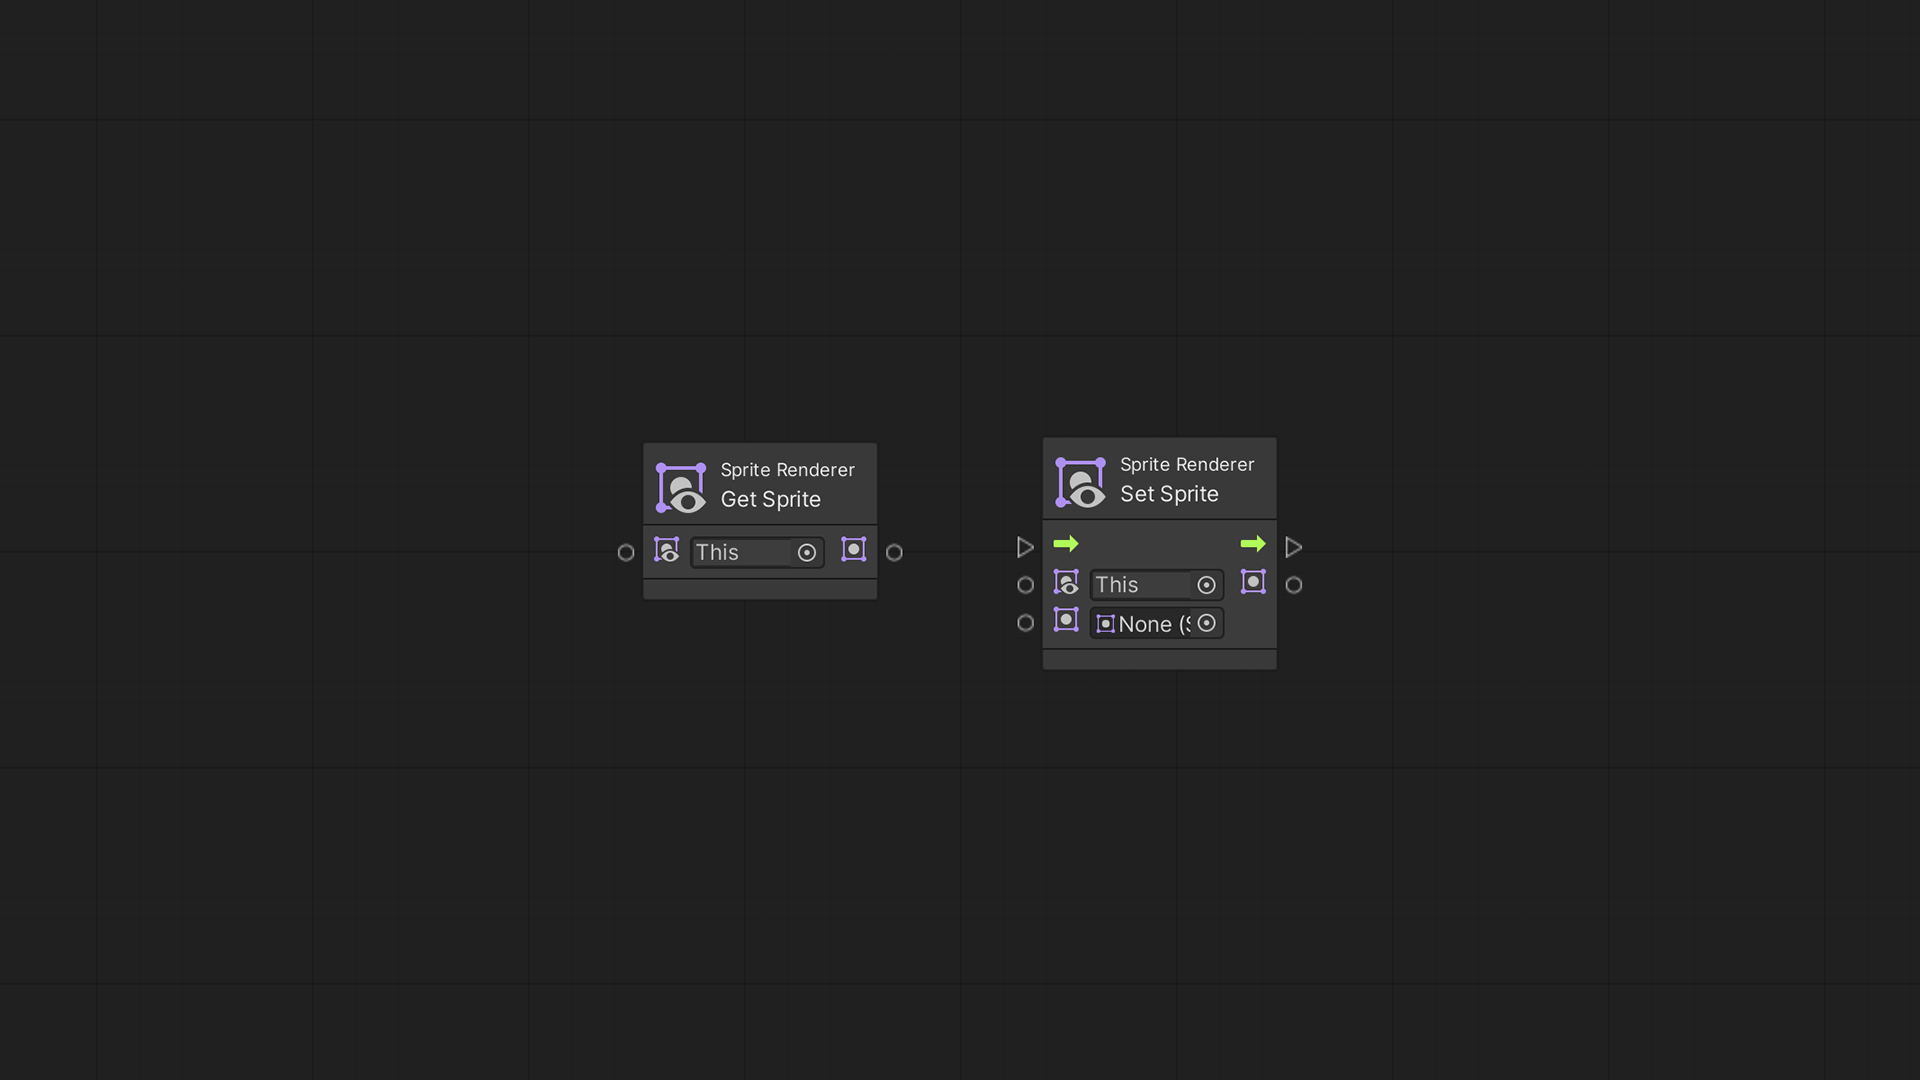
We use the Get Sprite and the Set Sprite nodes to retrieve or swap the rendered Sprite.
Tint Color
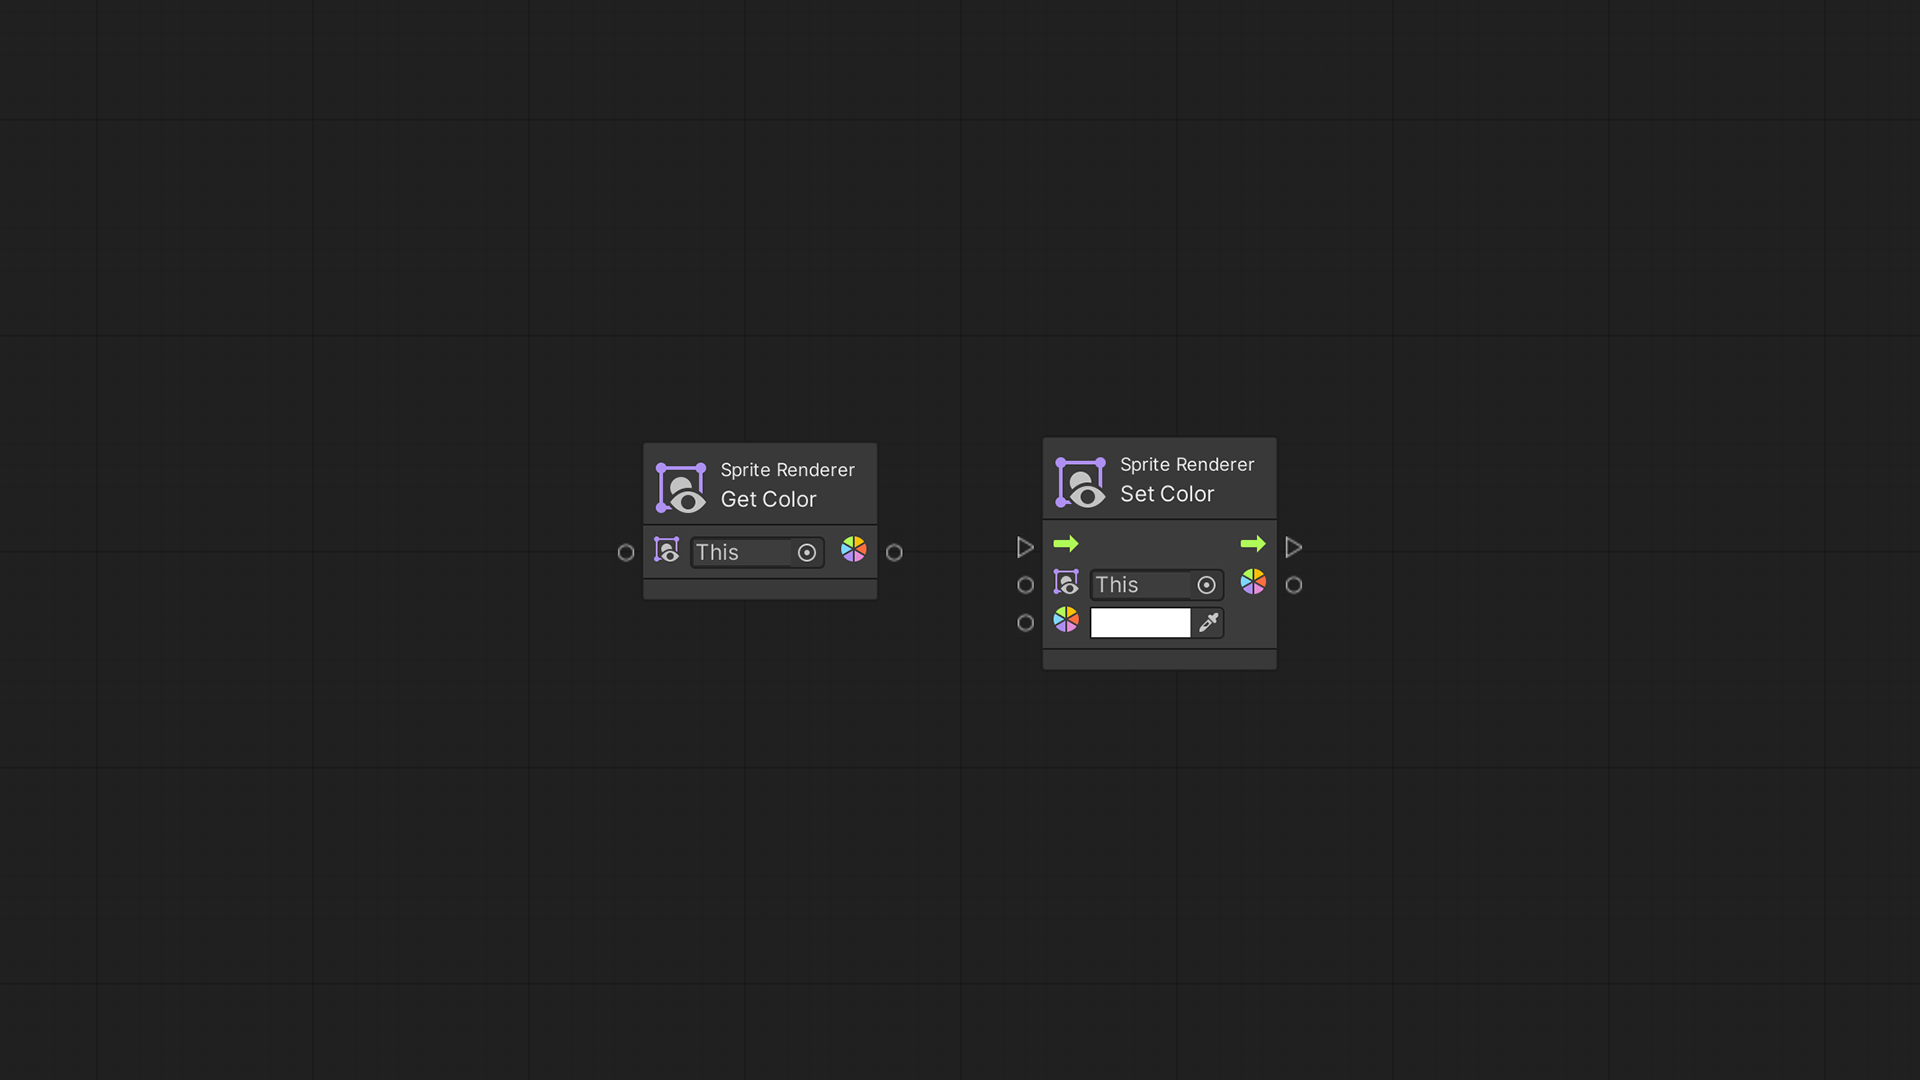
We can also retrieve and change the Sprite’s color by using the Get Color and Set Color nodes.
Flipping
And flip the Sprite horizontally or vertically with the Set Flip X and Set Flip Y nodes.
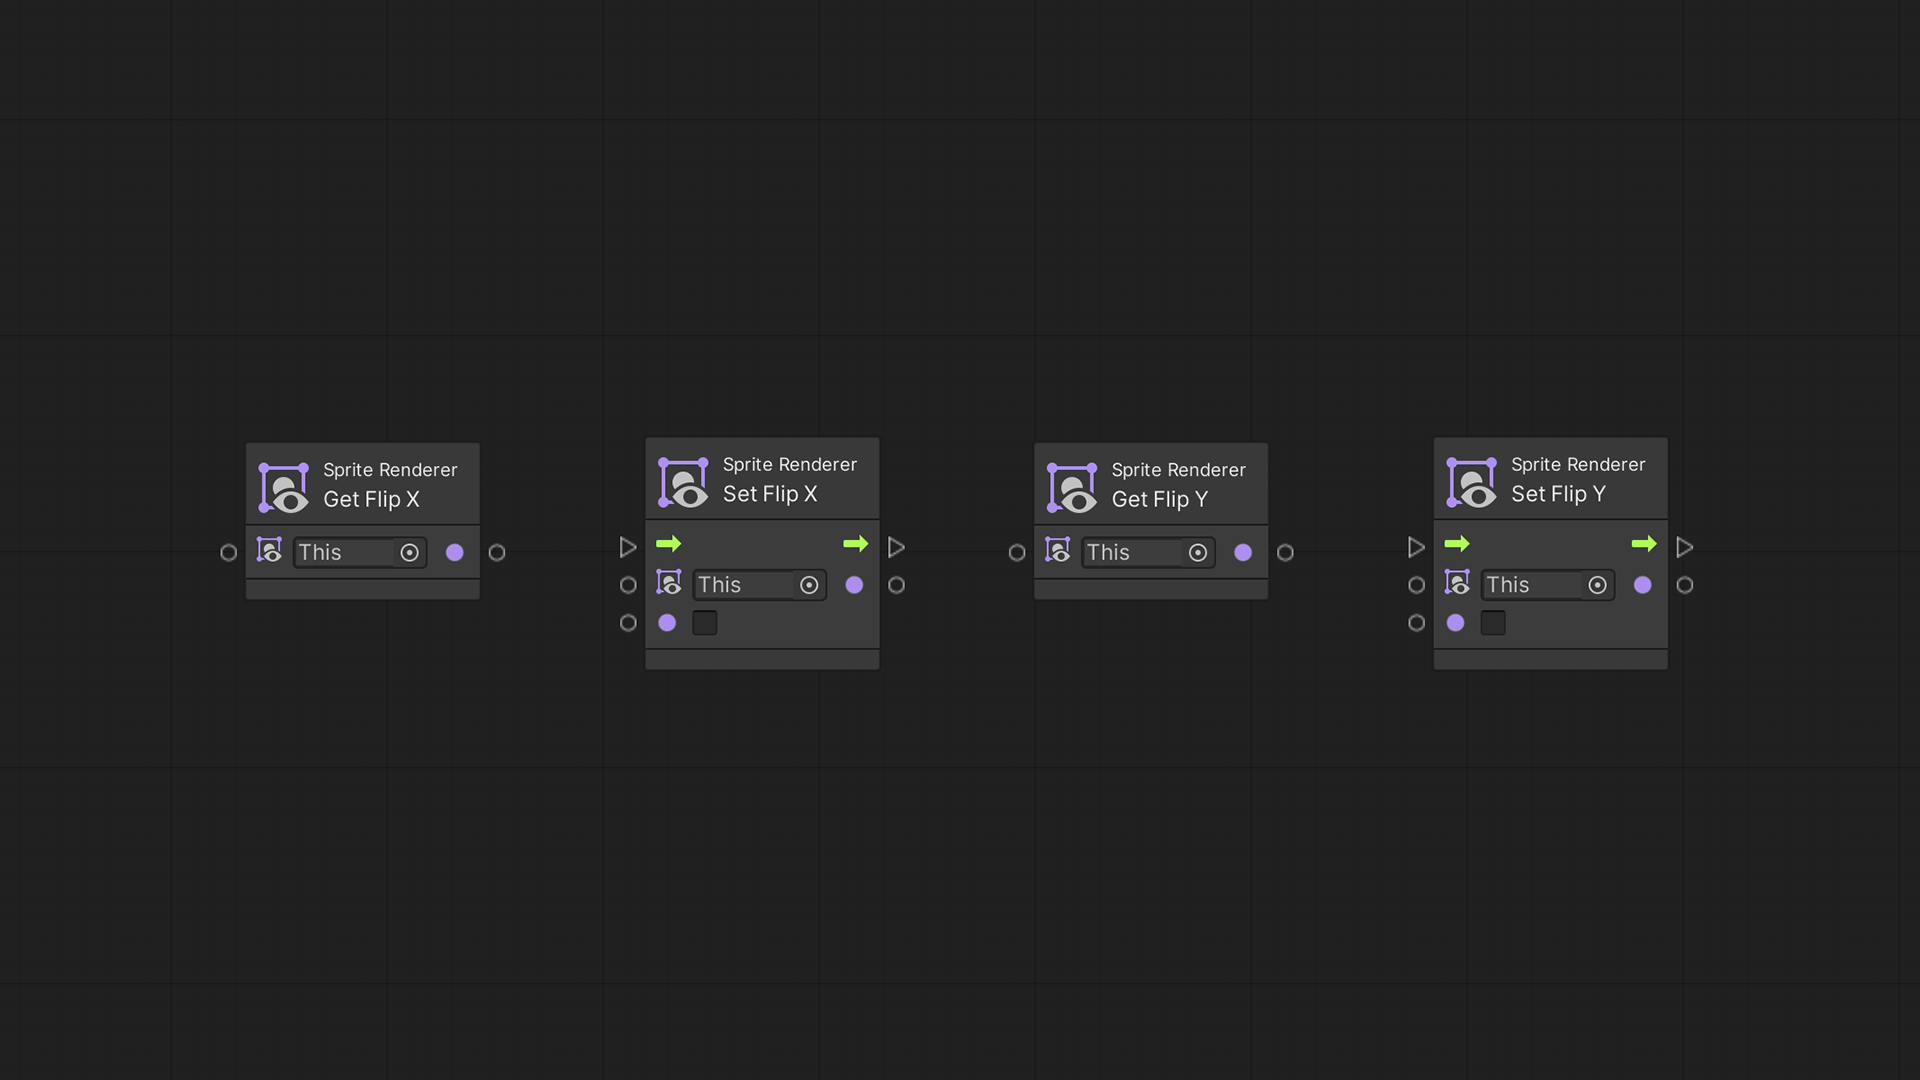
Sorting
At the Additional Settings of a Sprite Renderer, we can change a Sprite’s rendering order priority by using the Sorting Layer settings.
We can use Sorting Layers, for example, to separate the game’s environment into background, midground, and foreground.
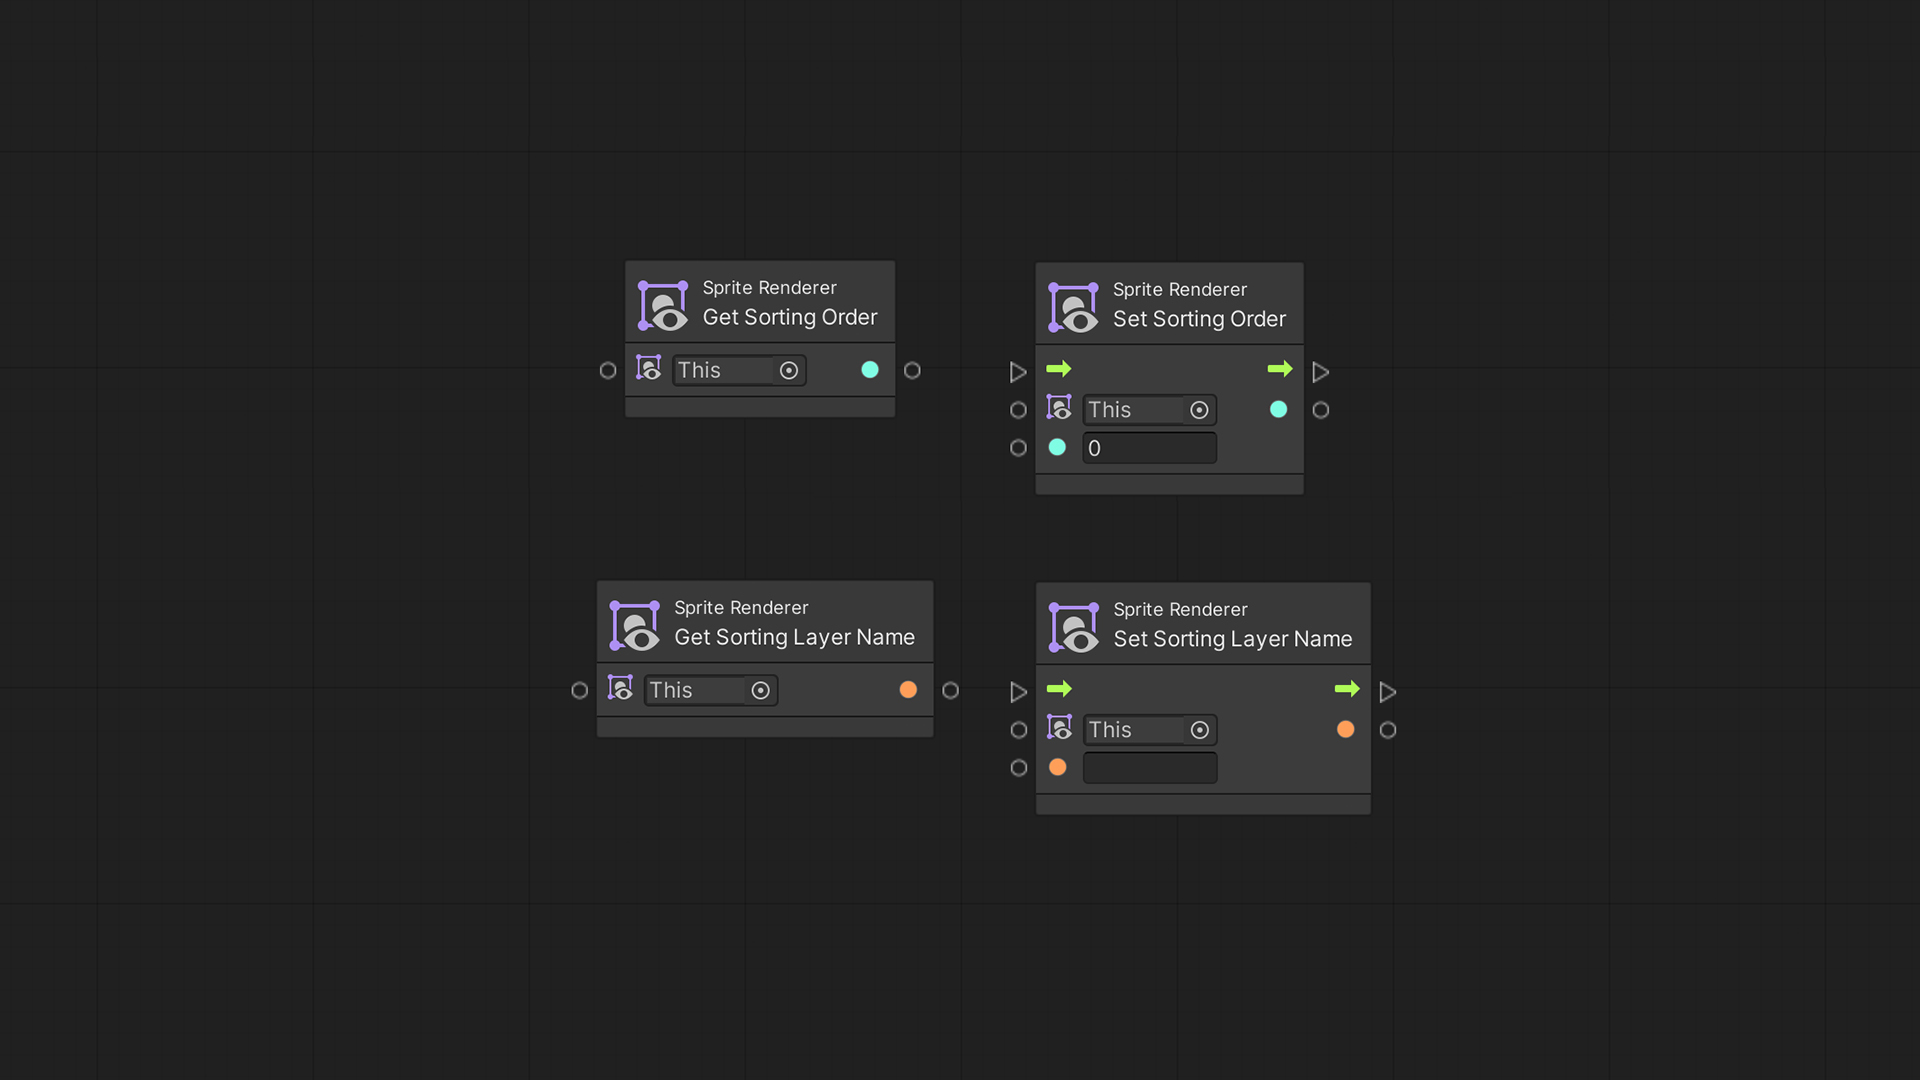
In the Script Graph, we modify the rendering order inside a layer with the Get & Set Sprite Sorting Order nodes. Alternatively, we can also use the Get & Set Sorting Layer Name nodes to change the Sorting Layer itself.
Thanks for following along!
